R5
https://support.cyanview.com/docs/Integrations/Canon/CanonMirrorless
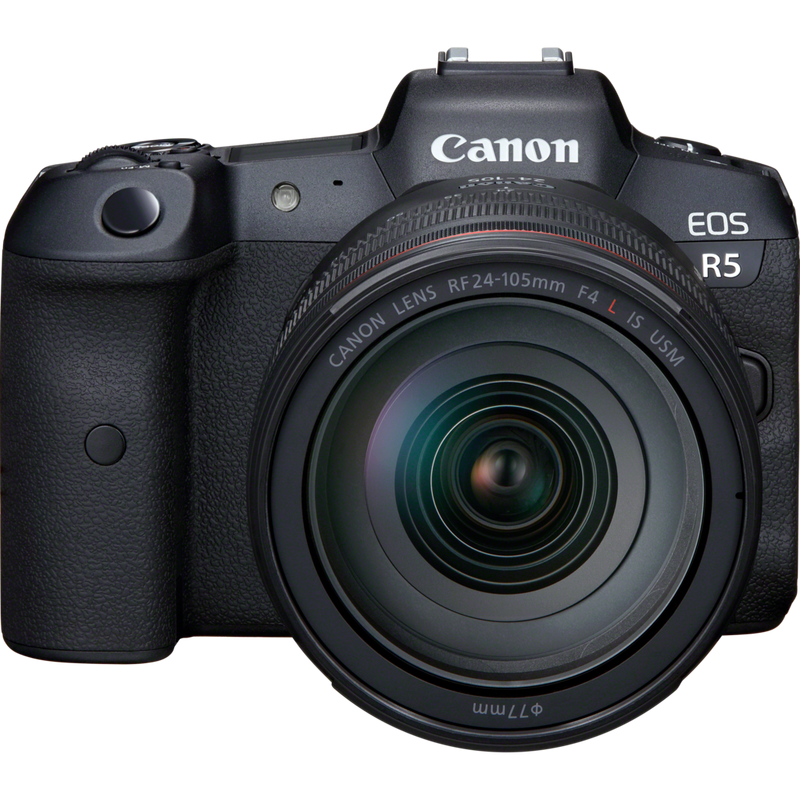
Supported Model
R5
The R5-C is not suitable for video applications. Unlike the R5, it features a new video processing pipeline that differs from picture mode and cannot be controlled over USB. As a result, the R5-C can only be controlled in picture mode, which makes it impractical for video use.
Supported Controls
| Control | R5 |
|---|---|
| Exposure (Iris, Gain, Shutter) | ✓ |
| White balance (R/B and color temperature) | ✓ |
| Scene file save/recall | ✓ |
Wiring
You can connect the camera to either:
- The RCP: mainly for testing, or if the camera and RCP are close together
- A RIO/NIO: for all other cases; lets you control the camera remotely from anywhere over IP
Required cable: USB-A (RCP/RIO/NIO side) to USB-C (camera side)
Connecting to the RCP

Use any of the USB-A ports on the back of the RCP (not the one on top; use the one next to the RJ45). Then plug the USB-C end into the camera.
Connecting to a RIO/NIO

Use any of the USB-A ports on the RIO/NIO, then plug the USB-C end into the camera.
Configuration
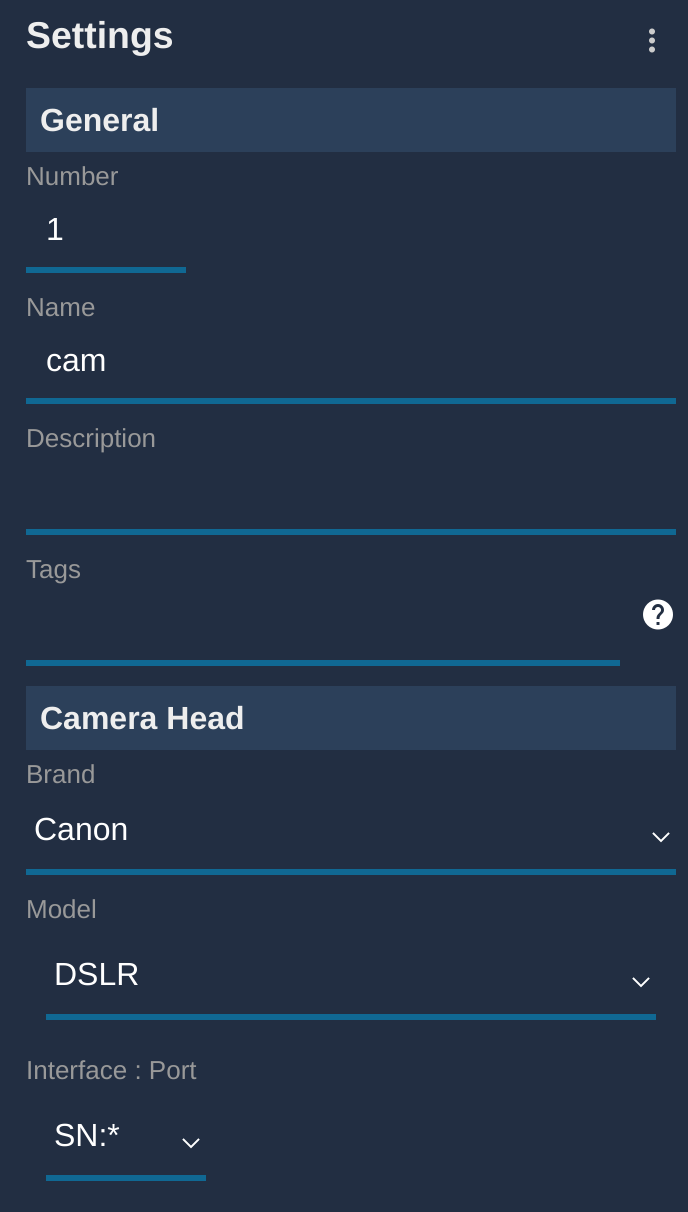
- Click "+" in the camera block (a new panel appears on the right)
- Under "General", set a number and a name
- Select brand: Canon and model: DSLR
Your settings should look like this:
And your camera block:
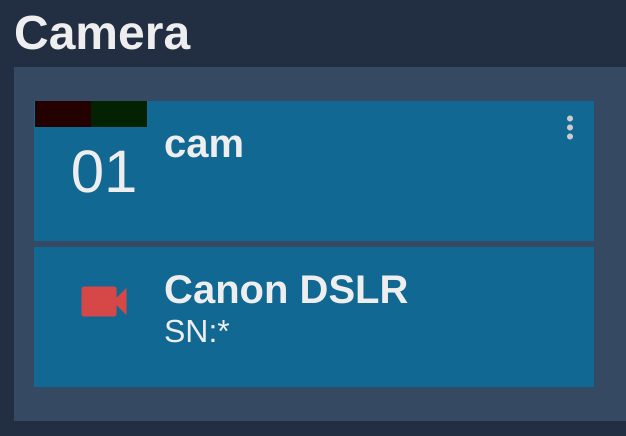
The Interface field shows "SN:*", meaning it will automatically connect to the first camera connected.