JVC Camcorders
https://support.cyanview.com/docs/Integrations/JVC/JVCCamcorder

JVC camcorders can be controlled over IP. The official site has no model-specific pages or list of supported models, so please check with your reseller or Cyanview whether your model is supported before you buy.
Supported Controls
- Tally (red)
- Menu navigation
- Iris
- Shutter
- Master gain
- Red gain
- Blue gain
- Master black
- AWB (one shot)
- Detail
- Auto iris
- Auto exposure
Connection
The camera is controlled over IP (Ethernet or Wi-Fi). To connect the camera to the network, you need a network adapter (dongle) compatible with the camera. Check your camera manual for compatible adapters.
- A single RCP can control multiple cameras (Ethernet, Wi-Fi).
- If you need remote control (internet, 4G), you can also use a RIO on the camera side combined with an RCP.
What You Need
- An RCP (plus a RIO for remote control)
- A network adapter (dongle) compatible with the camera
- A network connecting the camera and the RCP (switch or Wi-Fi)
Setup
-
If you have a motorized lens, make sure it is set to AUTO if you want to control it from the RCP
-
Set a static IP on your camera (JVC manual)
-
Open the RCP's Web UI (see Getting Started for how) and add a new camera with "+" in the Camera section
-
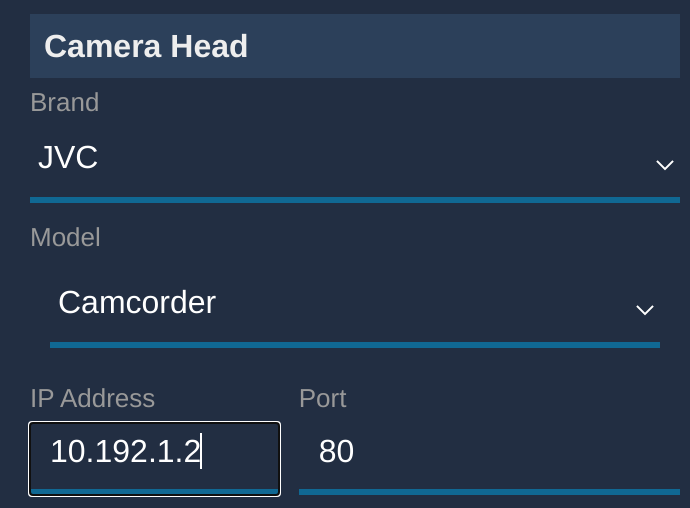
Enter the camera number and name under "General", and select brand JVC, model Camcorder. Make sure the IP matches the one configured on your camera
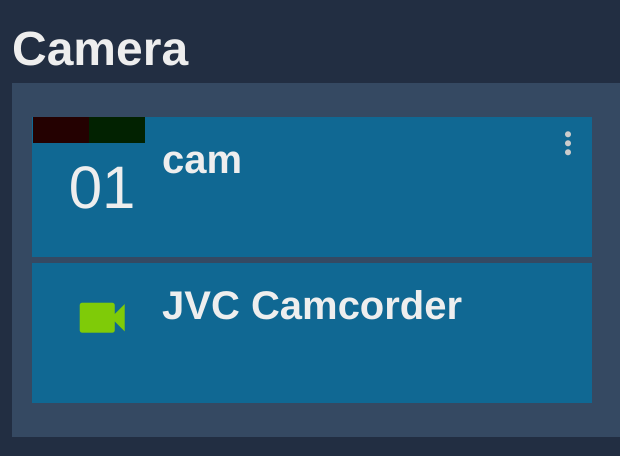
If everything is fine, the status turns green.
If your camera is not in the default Cyanview range (10.192.0.0/16), either change the camera's IP or add a new IP range on the RCP.
If you need advanced shading, you can combine camera control with a VP4.