GH5S/GH7
Source
This content is based on Cyanview's official manuals. Always check the official page for the latest information and precise specifications.
https://support.cyanview.com/docs/Integrations/Panasonic/GH5S
https://support.cyanview.com/docs/Integrations/Panasonic/GH5S
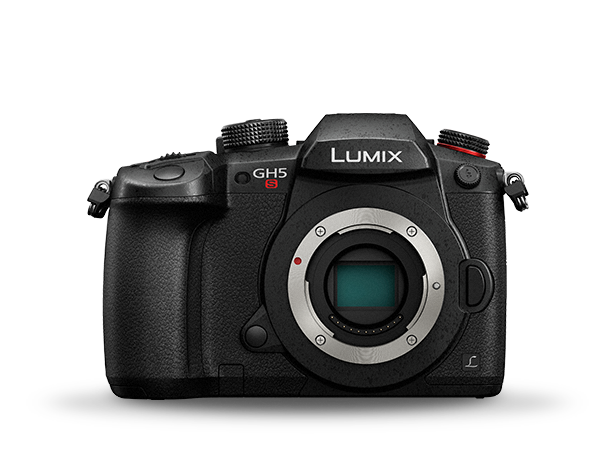
Supported Models
- Panasonic Lumix DC-GH5S
- Panasonic Lumix DC-GH7
Supported Controls
Both models:
- Auto exposure modes P, A, S or manual
- Exposure compensation
- Iris
- Shutter
- Gain in ISO
- Color temperature
- A-B/G-M settings mapped to the R/B encoders (these are not standard red/blue gains)
GH7 only:
- Saturation
- Hue
- Detail
- Noise reduction
- Knee (on/off/manual only; no control of point and slope)
Wiring
The camera must be connected to an RCP or a RIO with a USB cable.
Configuration
- Connect the USB cable to the RCP or RIO and to the camera
- When the USB cable is connected, the camera asks you to choose between three USB options; select PC (Tether)
- PC (Storage)
- PC (Tether)
- PictBridge (PTP)
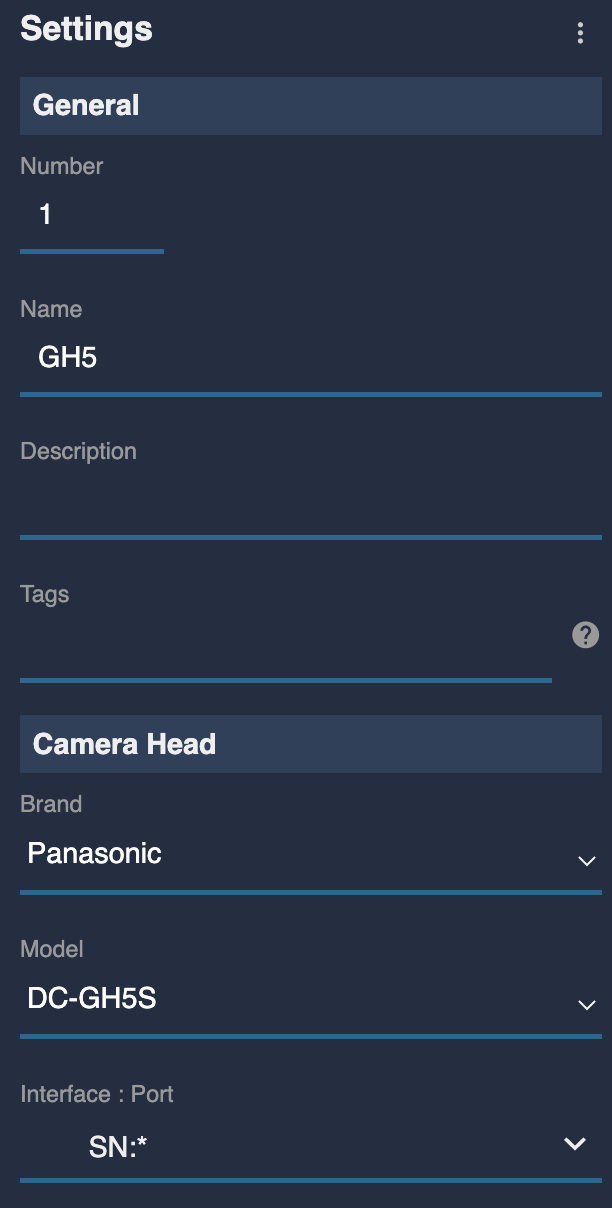
- In the configuration interface, click "+" in the camera block (a new panel appears on the right)
- Under "General", set a number and a name
- Select brand: Panasonic and model: DC-GH5S or DC-GH7
Your settings should look like this:
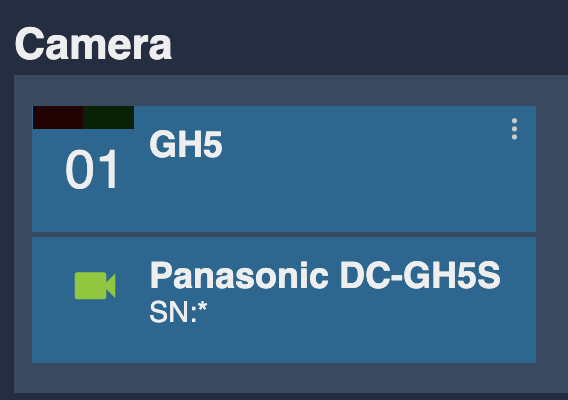
And your camera block:
note
To use the full ISO range, "Dual Native ISO Setting" in the Exposure menu must be set to AUTO.