Preview Integration (Preview / Touchdown)
https://support.cyanview.com/docs/Configuration/Preview
Overview
This feature lets you switch the CCU output shown on a preview monitor using the RCP's joystick/button controls. It works in its simplest form for a single-camera setup, while multi-camera setups require more advanced configuration via GPIO or a router protocol. The RCP automatically synchronizes camera selection bidirectionally with a router panel (VSM, Cerebrum, Quartz, etc.).
Configuration options:
- Single camera: contact closure output via an RCP GPIO dongle
- Multiple cameras: RCP GPIO dongle or NIO (an IP-based 16-channel GPIO box)
- Router/switcher control protocol
- Camera selection via Ember+ (unofficially supported, please inquire)
GPIO interfaces
Two options are available:
-
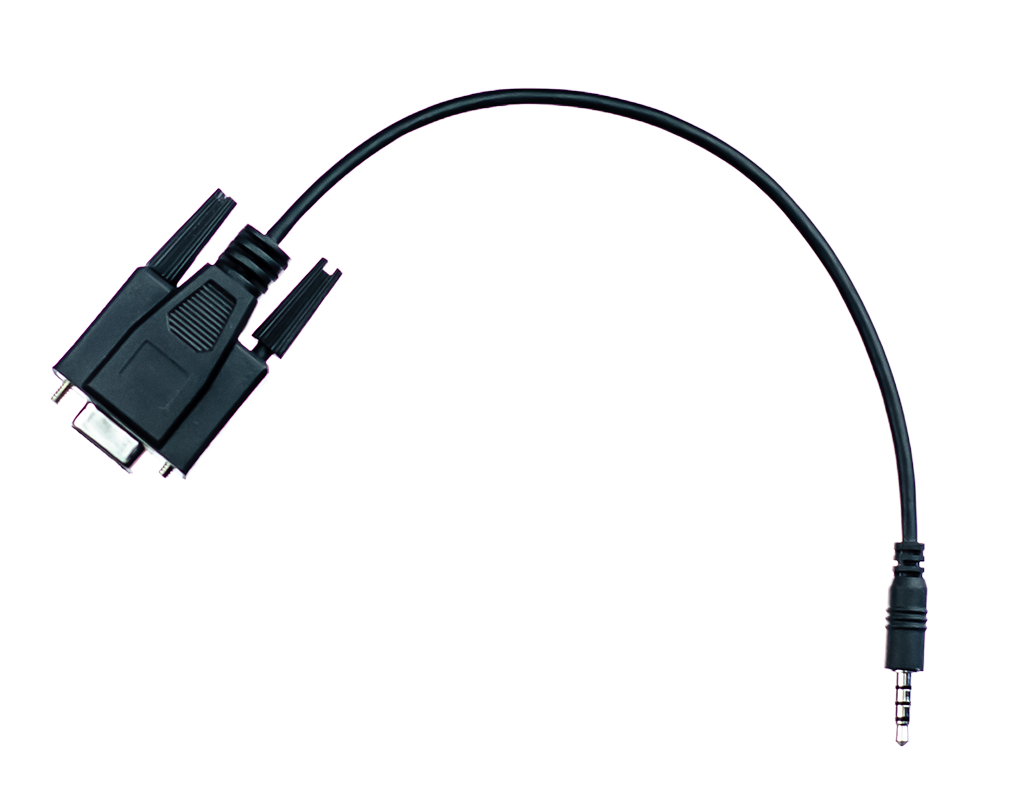
CY-CBL-JACK-GPIO8 GPIO dongle
- Connects to the back of the RCP
- Provides 8 channels of GPIO, supporting input and output simultaneously
- Can be combined two at a time to extend to 16 channels
- Also compatible with equipment wired for a Sony RCP DB9 connector
-
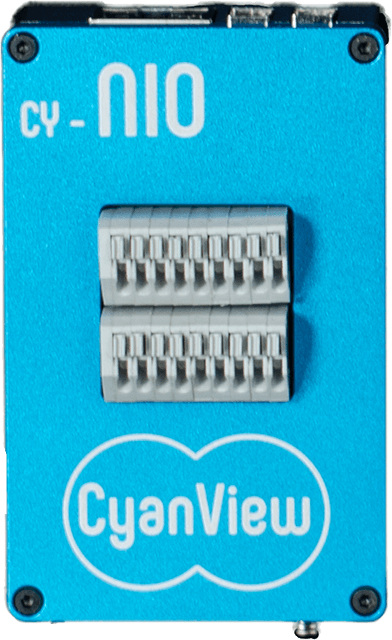
CY-NIO
- General-purpose 16-channel GPIO interface over IP
- Automatically detected by the RCP
Single-camera configuration
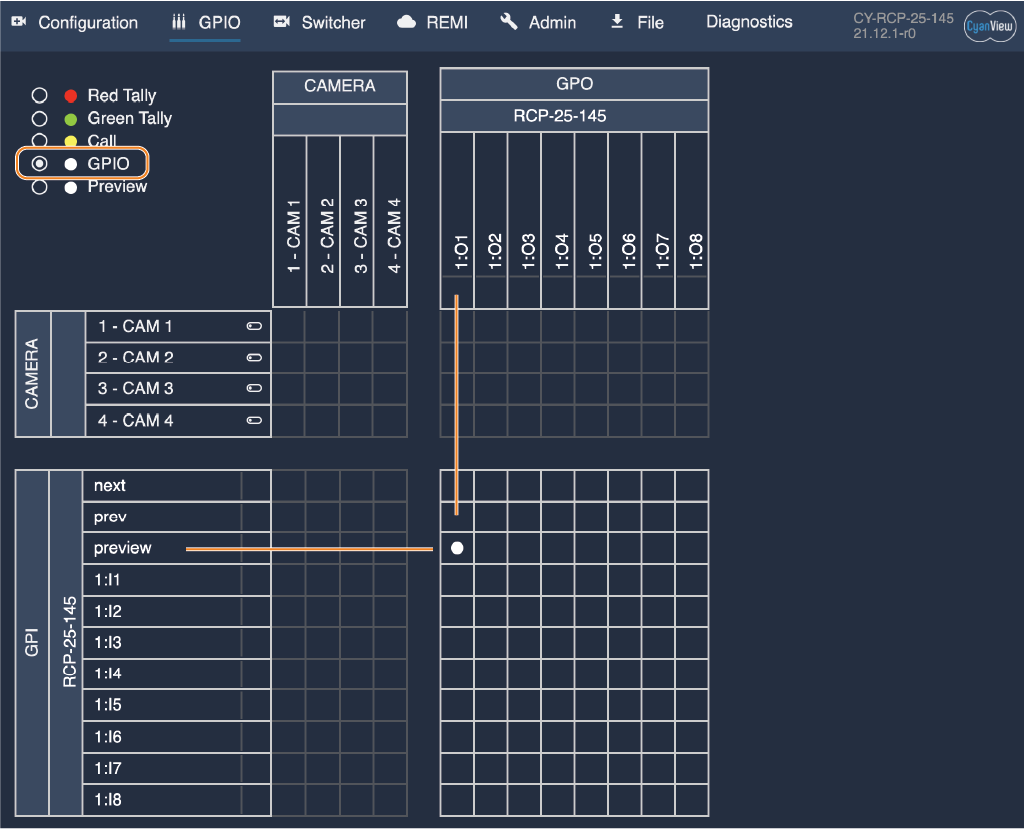
Select the "GPIO" option in the GPIO tab. The preview button is linked to a GPIO output, and pressing it outputs a signal equivalent to a low contact closure.
Multi-camera configuration
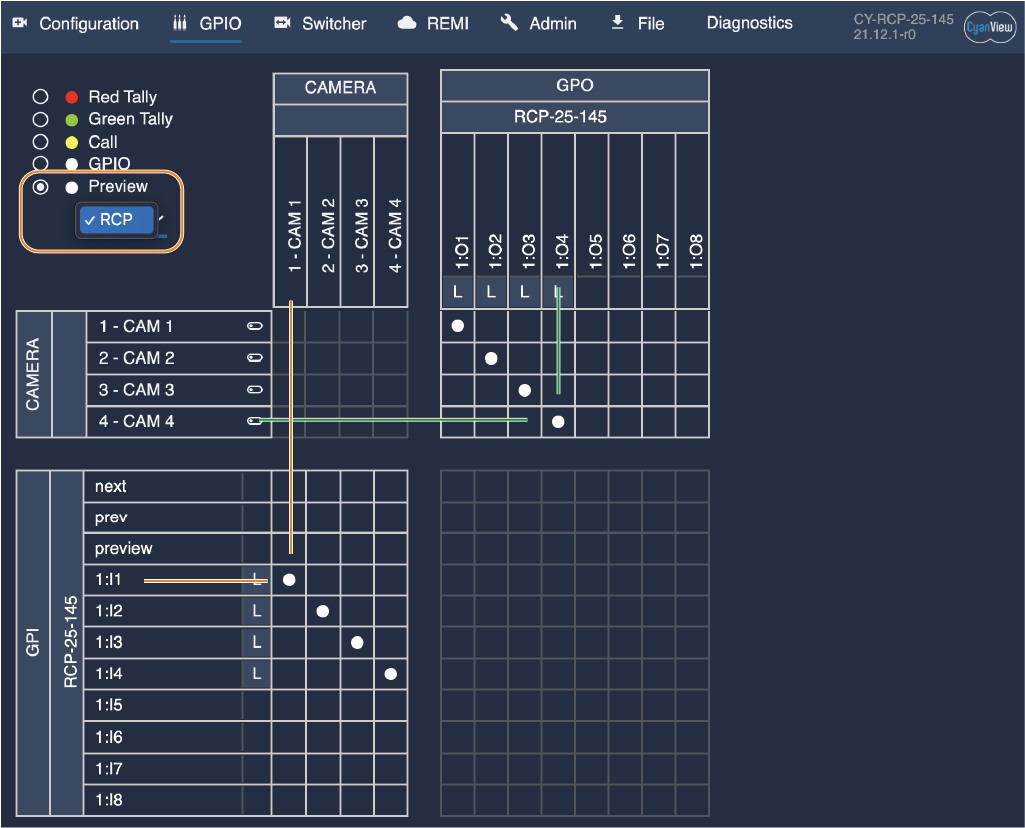
Each camera needs its own individual GPIO trigger assigned. Bidirectional switching is possible, either from the RCP to the router, or from an external source to the RCP. By default this uses a pulse output, and switching can be triggered from the RCP buttons, a Streamdeck, or the Web GUI.
Configuring GPIO:
Select "Preview" mode, then choose the RCP from the dropdown to display the camera mapping. GPI nodes (left-to-top cameras, orange lines) switch the RCP when triggered, while GPO nodes (right, camera → GPIO) generate a pulse/level signal when the camera changes or the preview button is pressed.
Joystick override mode
While the preview button is held down, the router input is switched to the selected camera; releasing it returns to the original input.
There are two ways to implement this:
-
Router integration method Adds a fallback route for when the preview button is not pressed. See Router integration for details.
-
GPIO method For a single camera, the PREVIEW button state is passed directly to the GPIO output; for multiple cameras, a level signal (rather than a pulse) generates one GPIO signal per camera. In this method the RCP itself does not handle the override — an external system such as VSM, Cerebrum, or a dedicated override box controls the router.
Switching between pulse/level mode: From the Controller's set properties (main tab > Controller section), change the preview GPIO behavior to "Level".
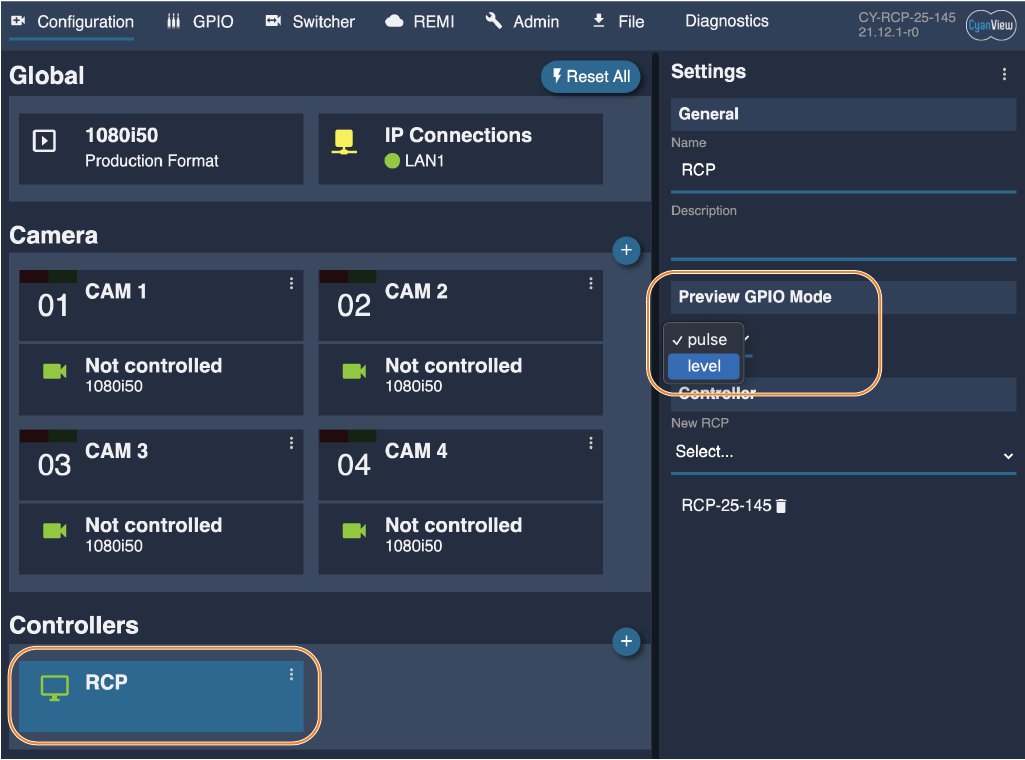
Router/switcher protocol synchronization
Instead of using GPI, this method synchronizes camera selection using the router's control protocol. It is configured in the Components section of the main configuration. The integration module maps router outputs to the RCP's Controller set, and router inputs to registered cameras. Because synchronization is bidirectional, the camera selected on the RCP always matches what is shown on the preview monitor.
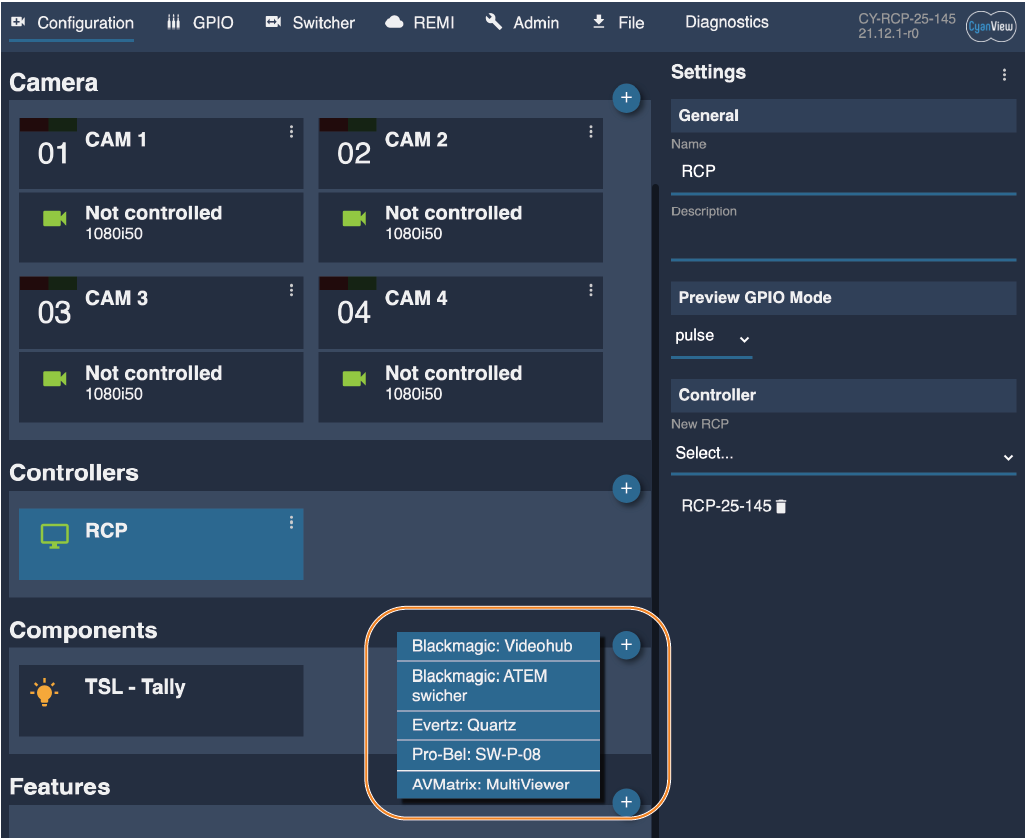
Related settings in the RCP screen menu
The following items under MENU > Settings are also related.
| Item | Description |
|---|---|
| Follow Router Selection | Automatically switches the camera shown on the RCP in response to GPI or router input changes. Disabling this lets you lock the RCP to a single camera |
| AUTO preview on camera change | Automatically generates a preview pulse/router switch when using the arrow keys. Disabling this requires manually pressing the preview button |
| Disable Pre/Next keys | Disables the arrow keys so that all three keys act as the preview button. Useful when one RCP is used per camera, or when an external router panel or Stream Deck is used to change cameras on the RCP |
| Access all cameras | In an advanced configuration where an RCP is restricted to a subset of cameras, allows temporary access to all cameras. This feature isn't yet integrated in the GUI and will be available in a future release |