IJ Configuration
https://support.cyanview.com/docs/Manuals/IJ/IrisJoystick
Assign to RCP
The Iris Joystick must be linked to the RCP. Assign it as follows:
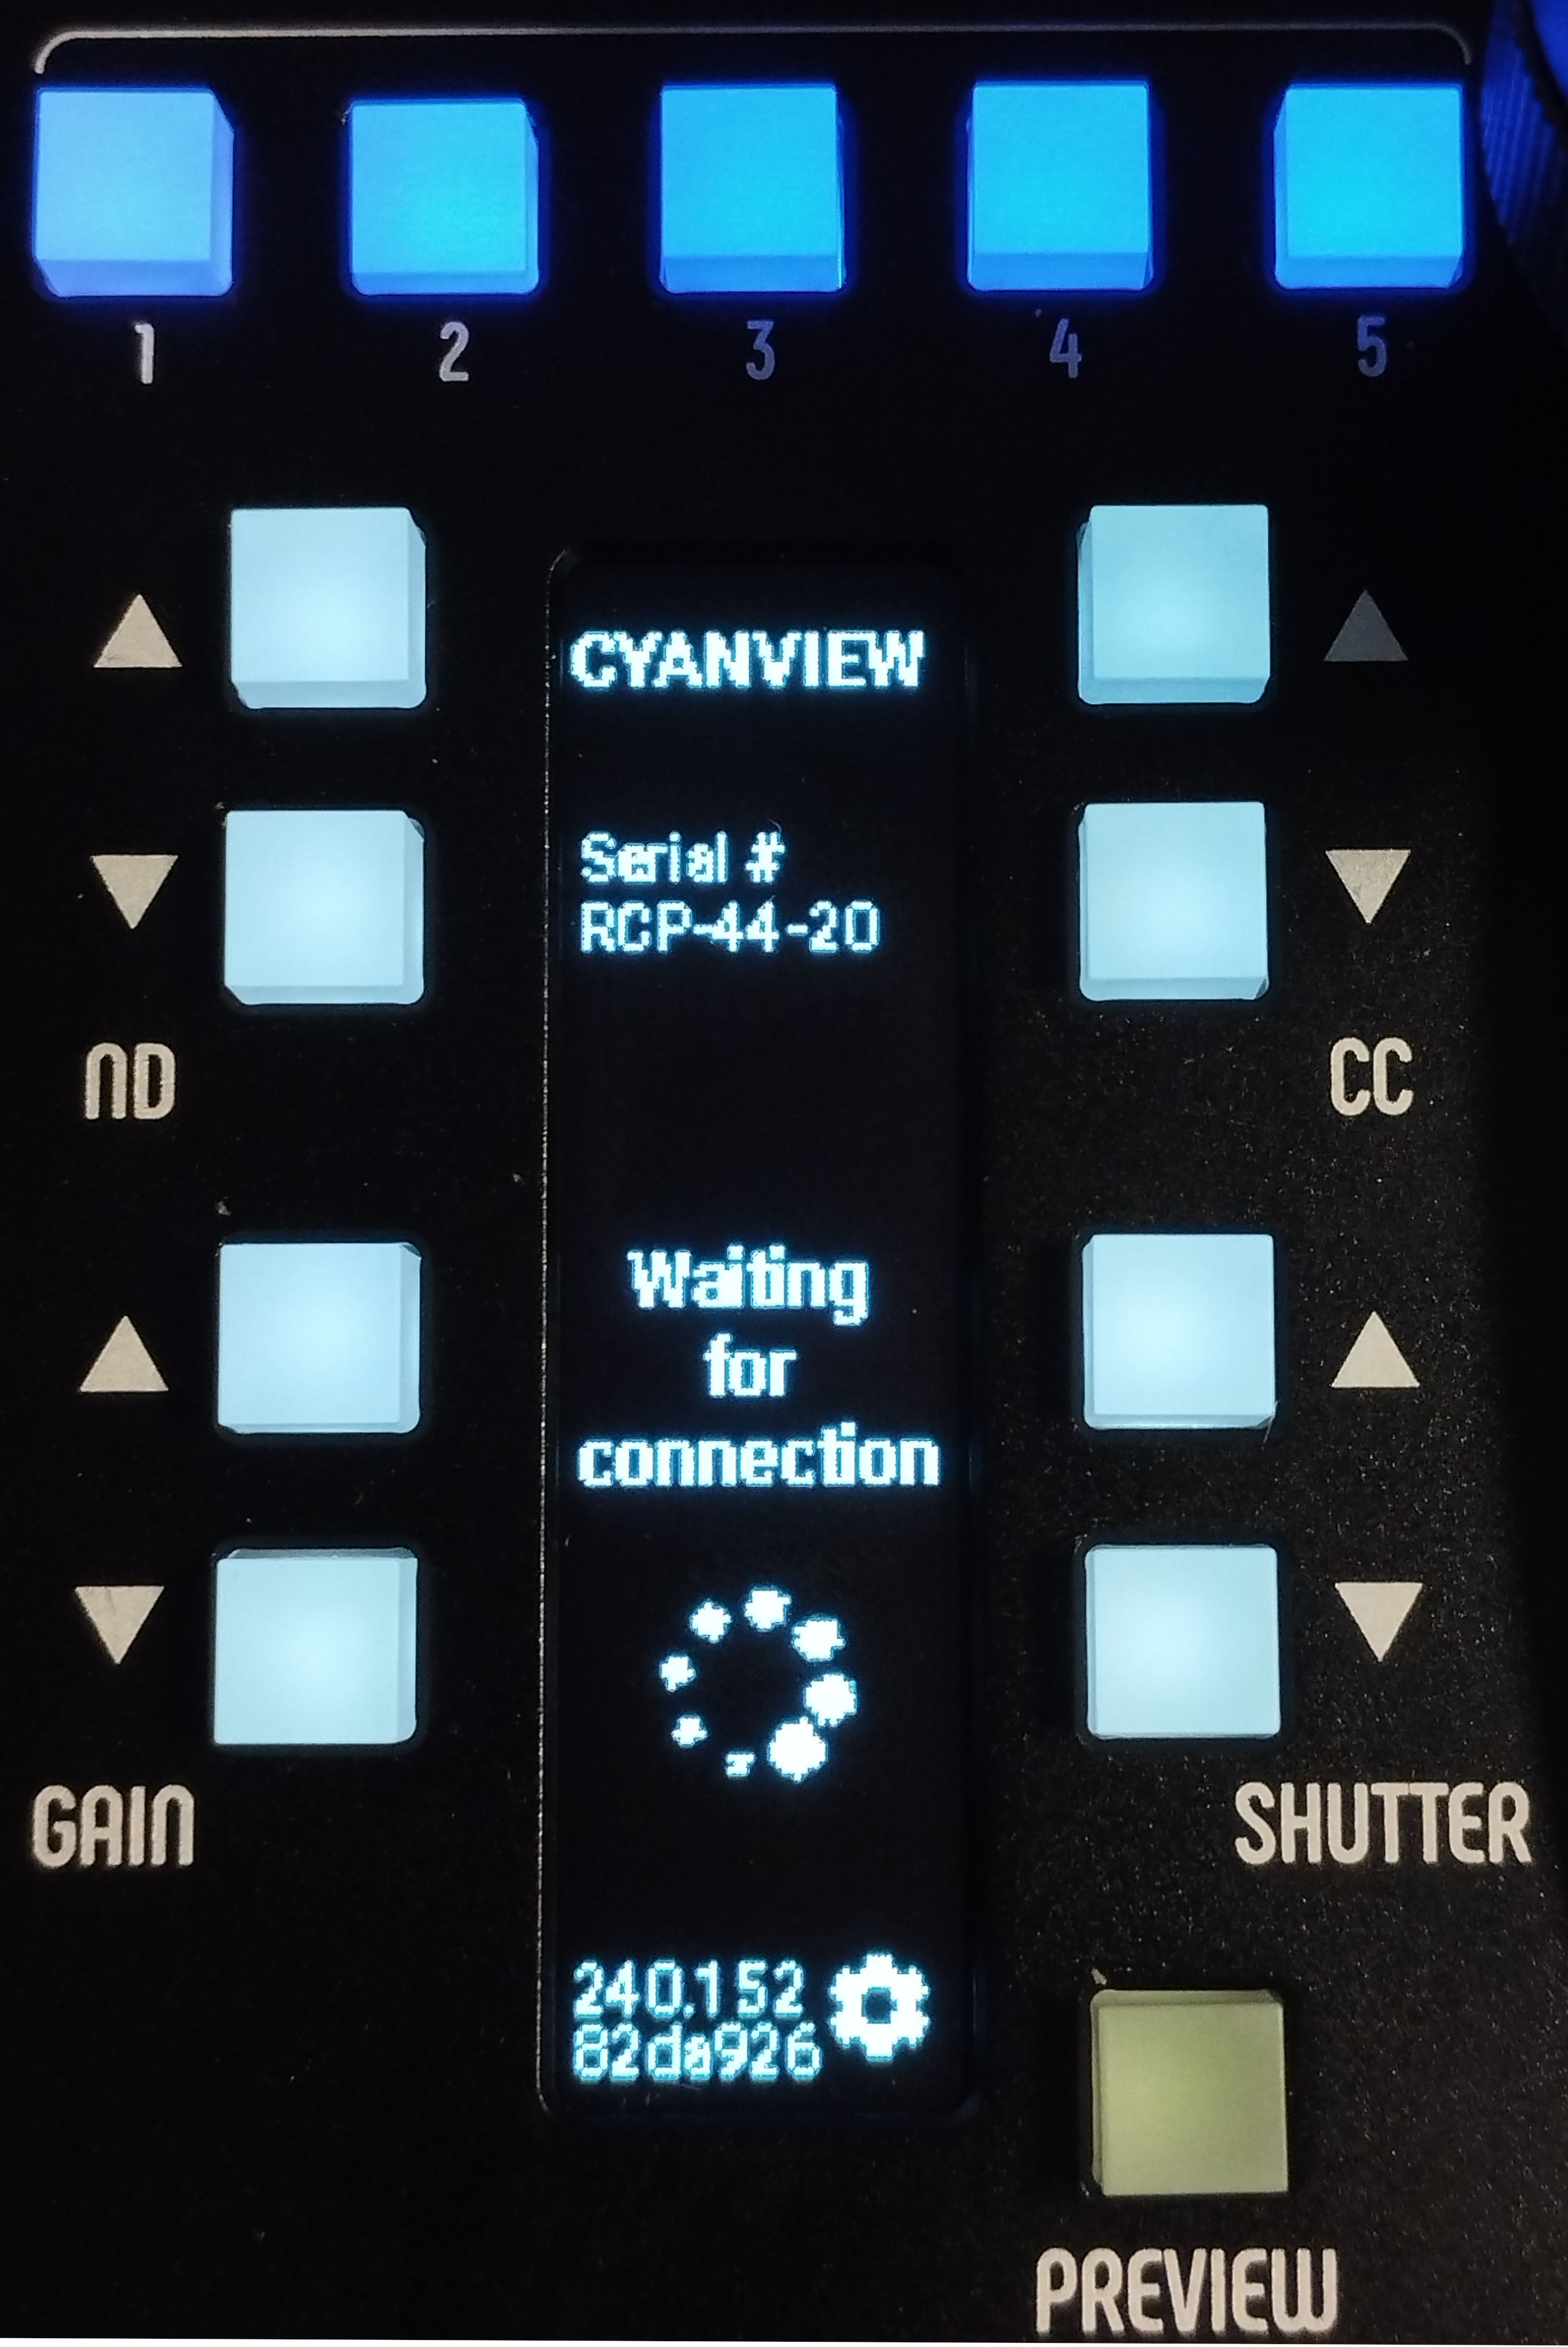
- On the startup screen, press the button next to the gear icon (PREVIEW) and select "Assign"
- In the assignment menu, select the RCP's serial number (e.g.
44-20for RCPCY-RCP-44-20). Use the ND UP/ND DOWN and CC UP/CC DOWN buttons to change the serial number
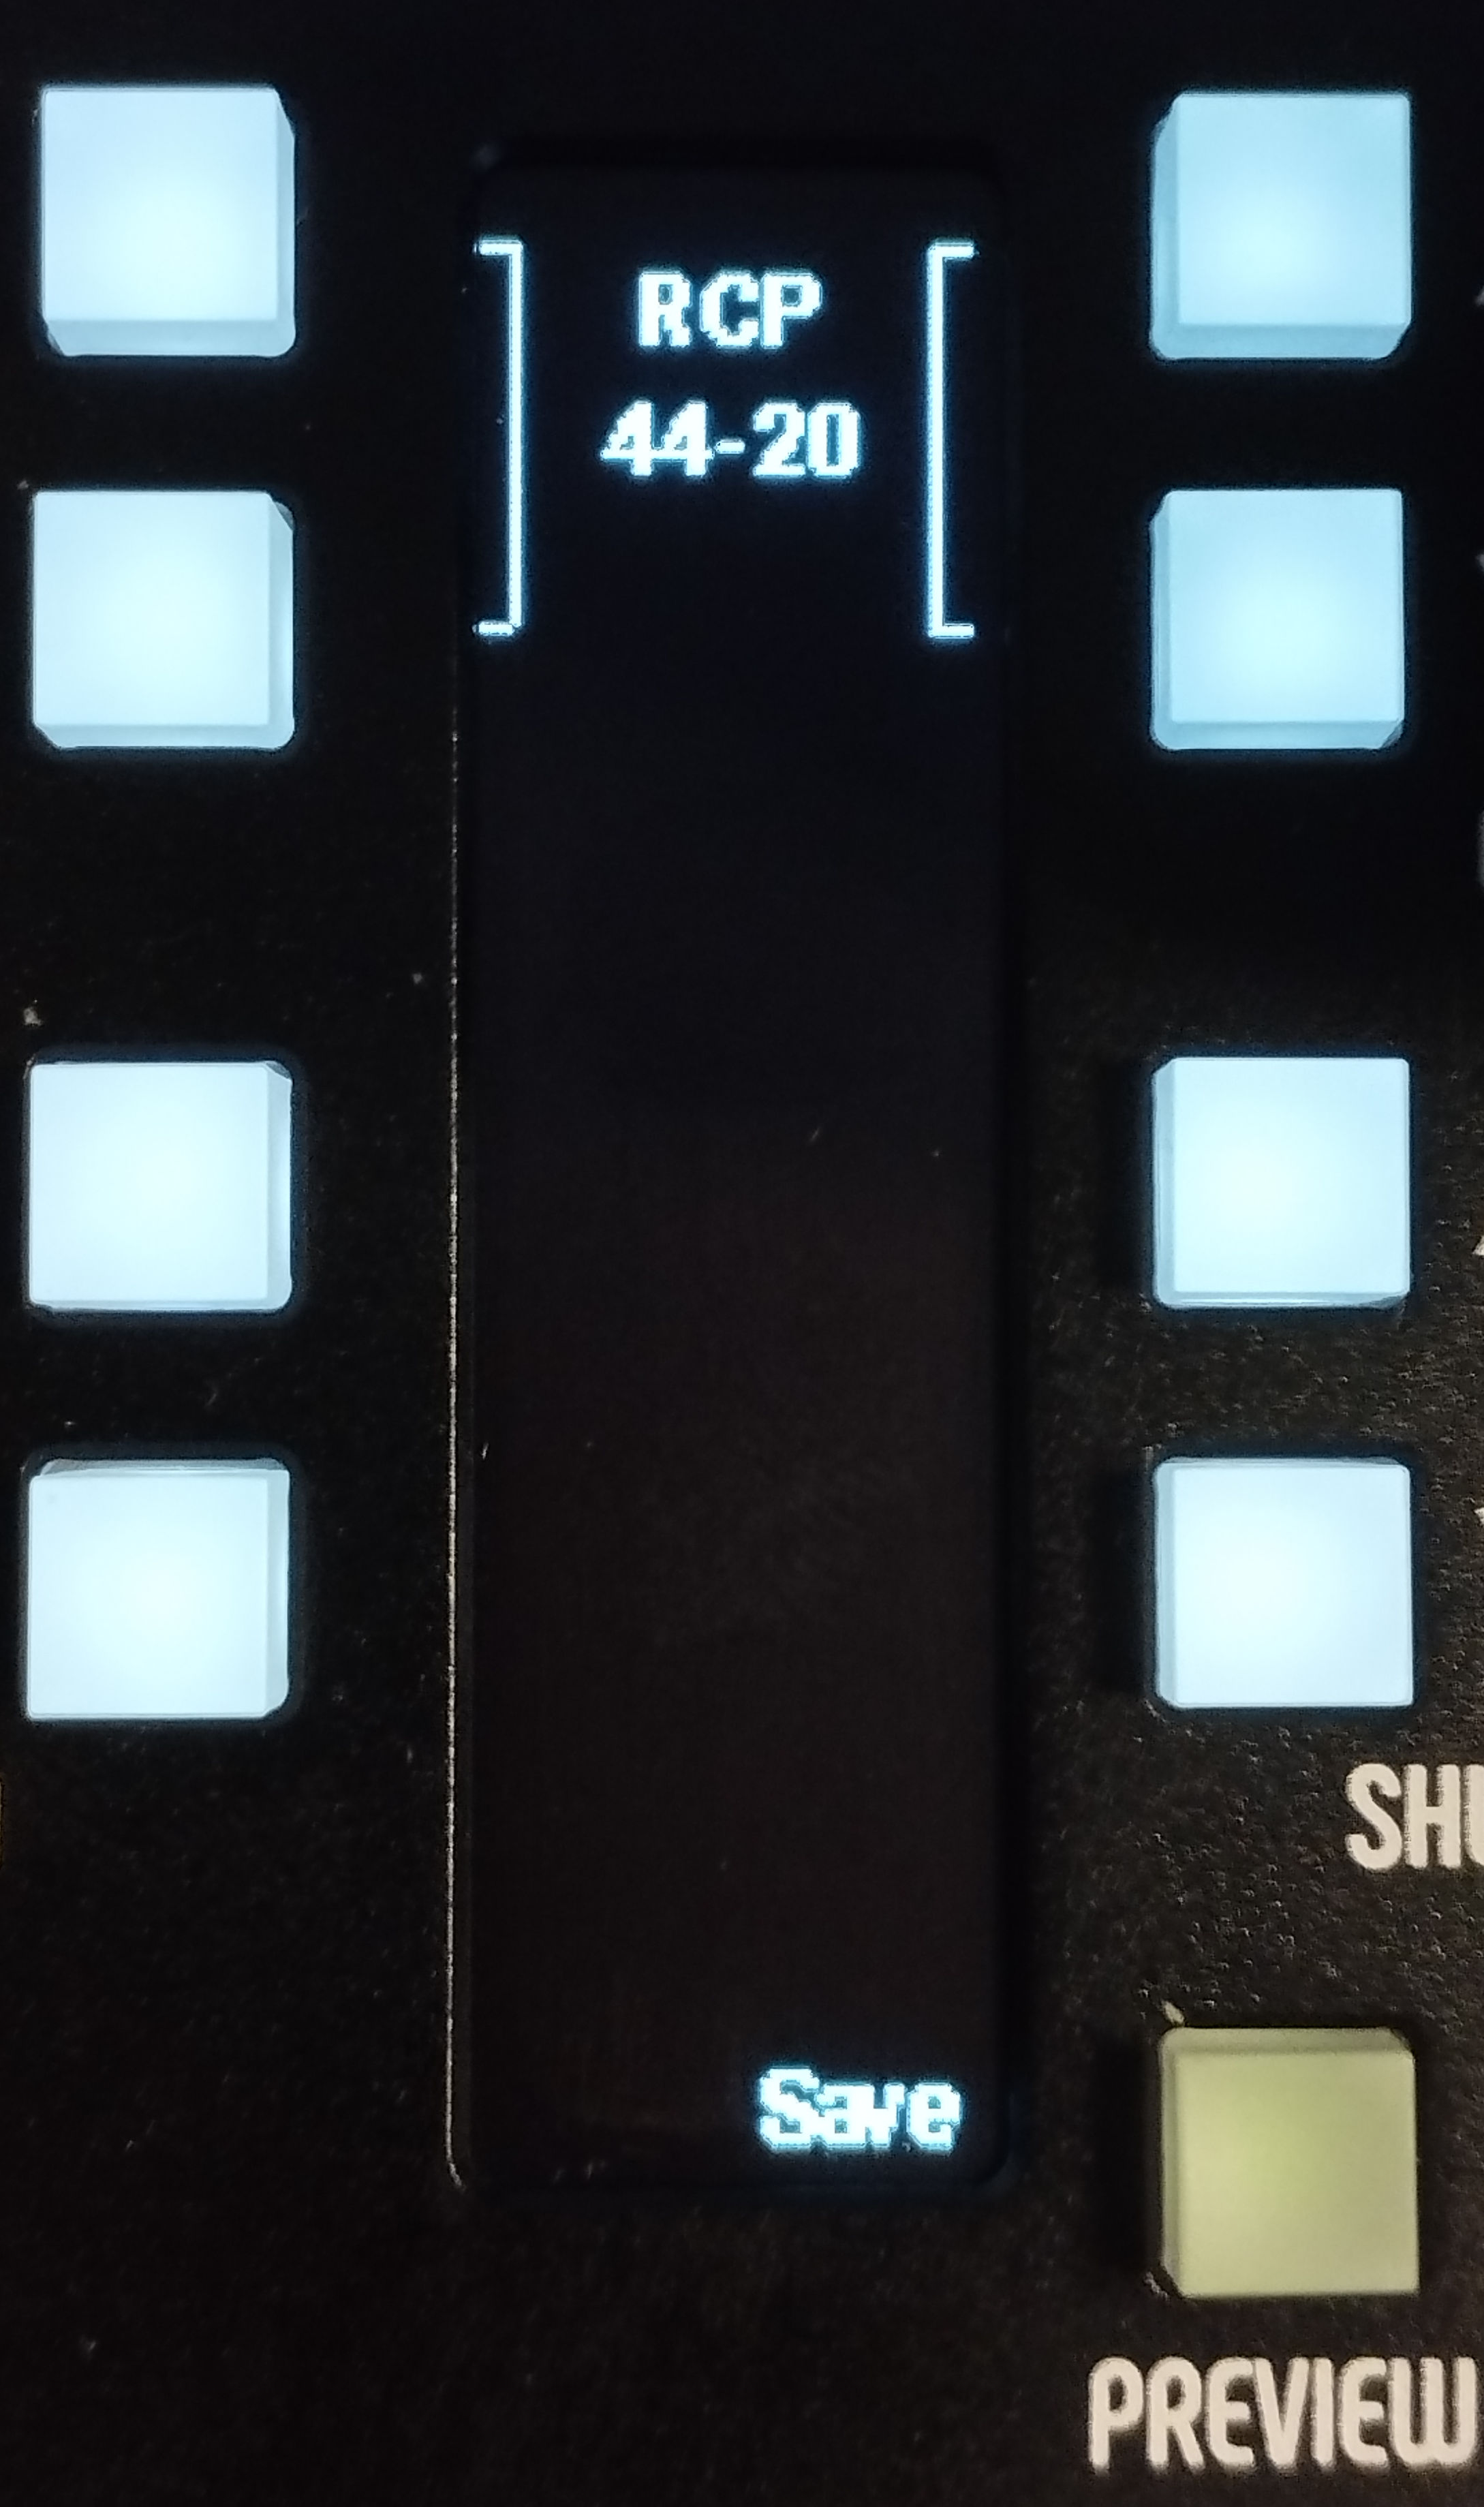
- Press "Save" (PREVIEW) and the Iris Joystick will reboot, displaying the assigned serial number (e.g. "Serial# 44-20") on the startup screen
- Once the Iris Joystick is assigned to the RCP, the main screen appears after a while
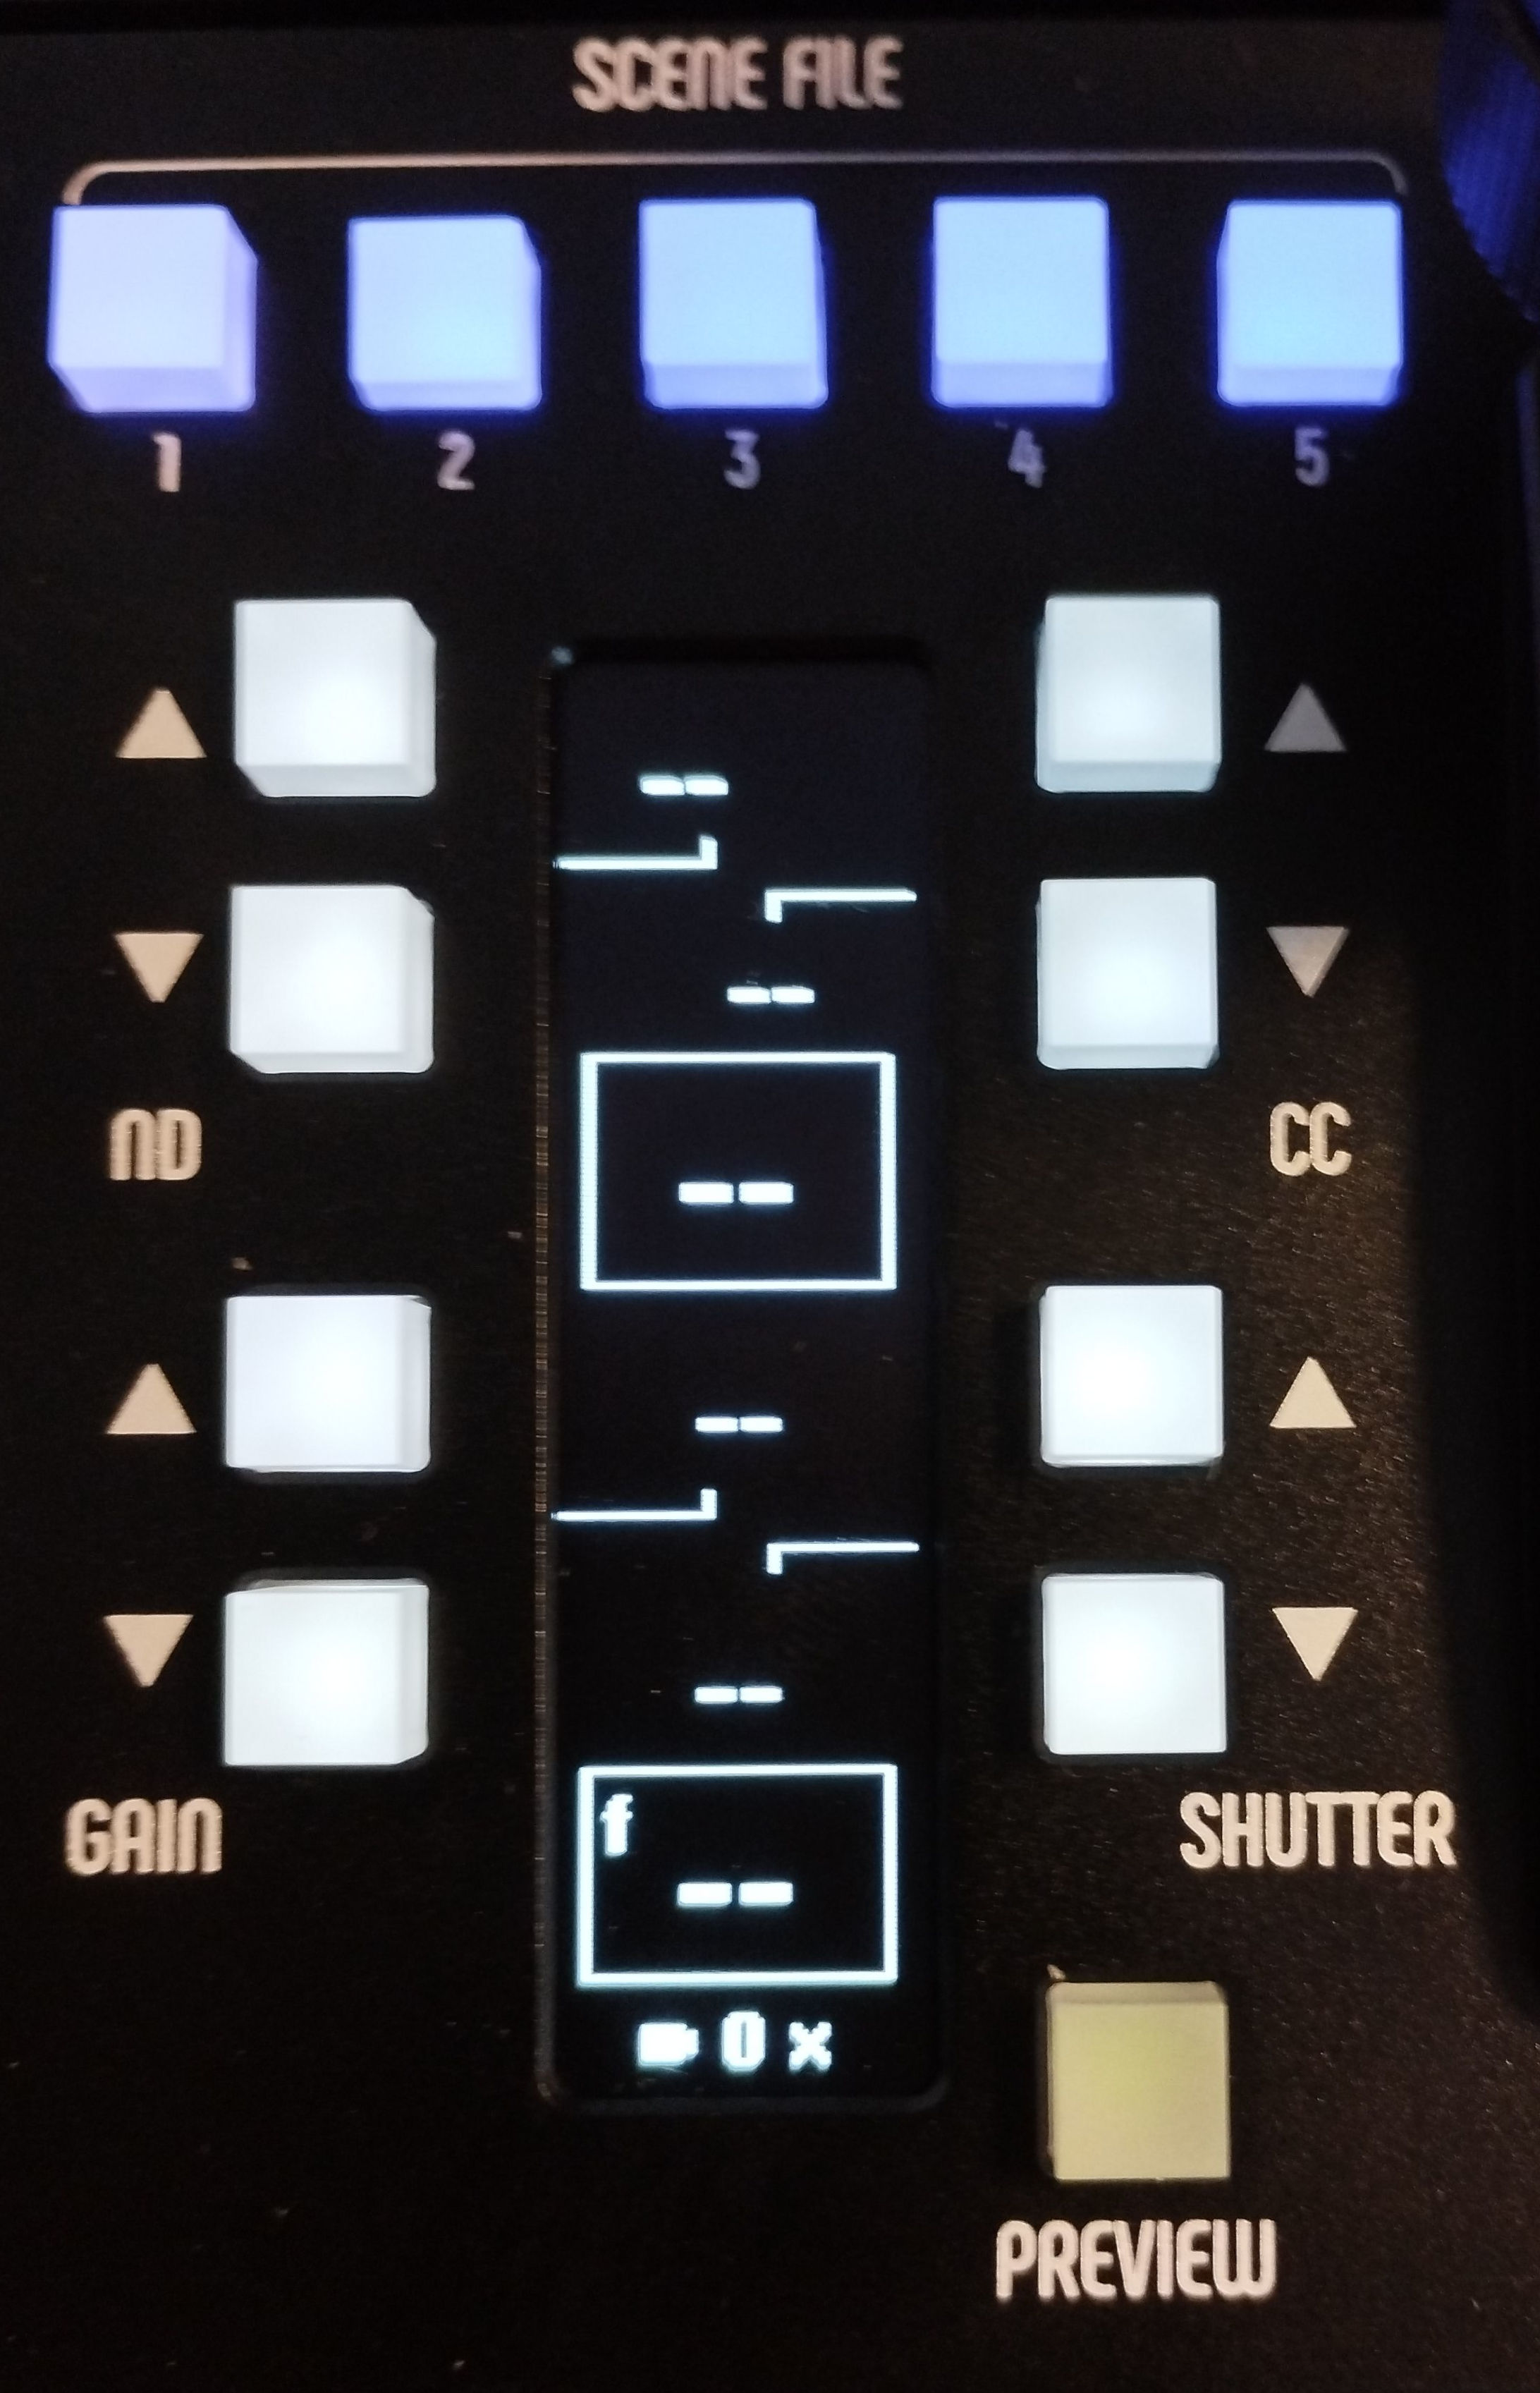
Calibrate the Joystick
The joystick must be calibrated to work correctly. Calibration stores the sensor values for specific positions internally, so it is important to perform it correctly. The positions are:
| State | Description |
|---|---|
I open | Iris Joystick opened (joystick UP, without forcing the spring) |
I close | Iris Joystick closed (joystick DOWN, without forcing the spring) |
Black max | Black ring turned clockwise to its mechanical stop |
Black min | Black ring turned counter-clockwise to its mechanical stop |
J pressed | Joystick shaft pressed |
J released | Joystick shaft not pressed |
Two ways to access the calibration menu:
- On the startup screen, press the button next to the gear icon (PREVIEW), then select "Calibrate"
- On the main screen, hold the joystick and press PREVIEW to enter the configuration screen, then the gear icon (SHUTTER DOWN), then select "Calibrate"
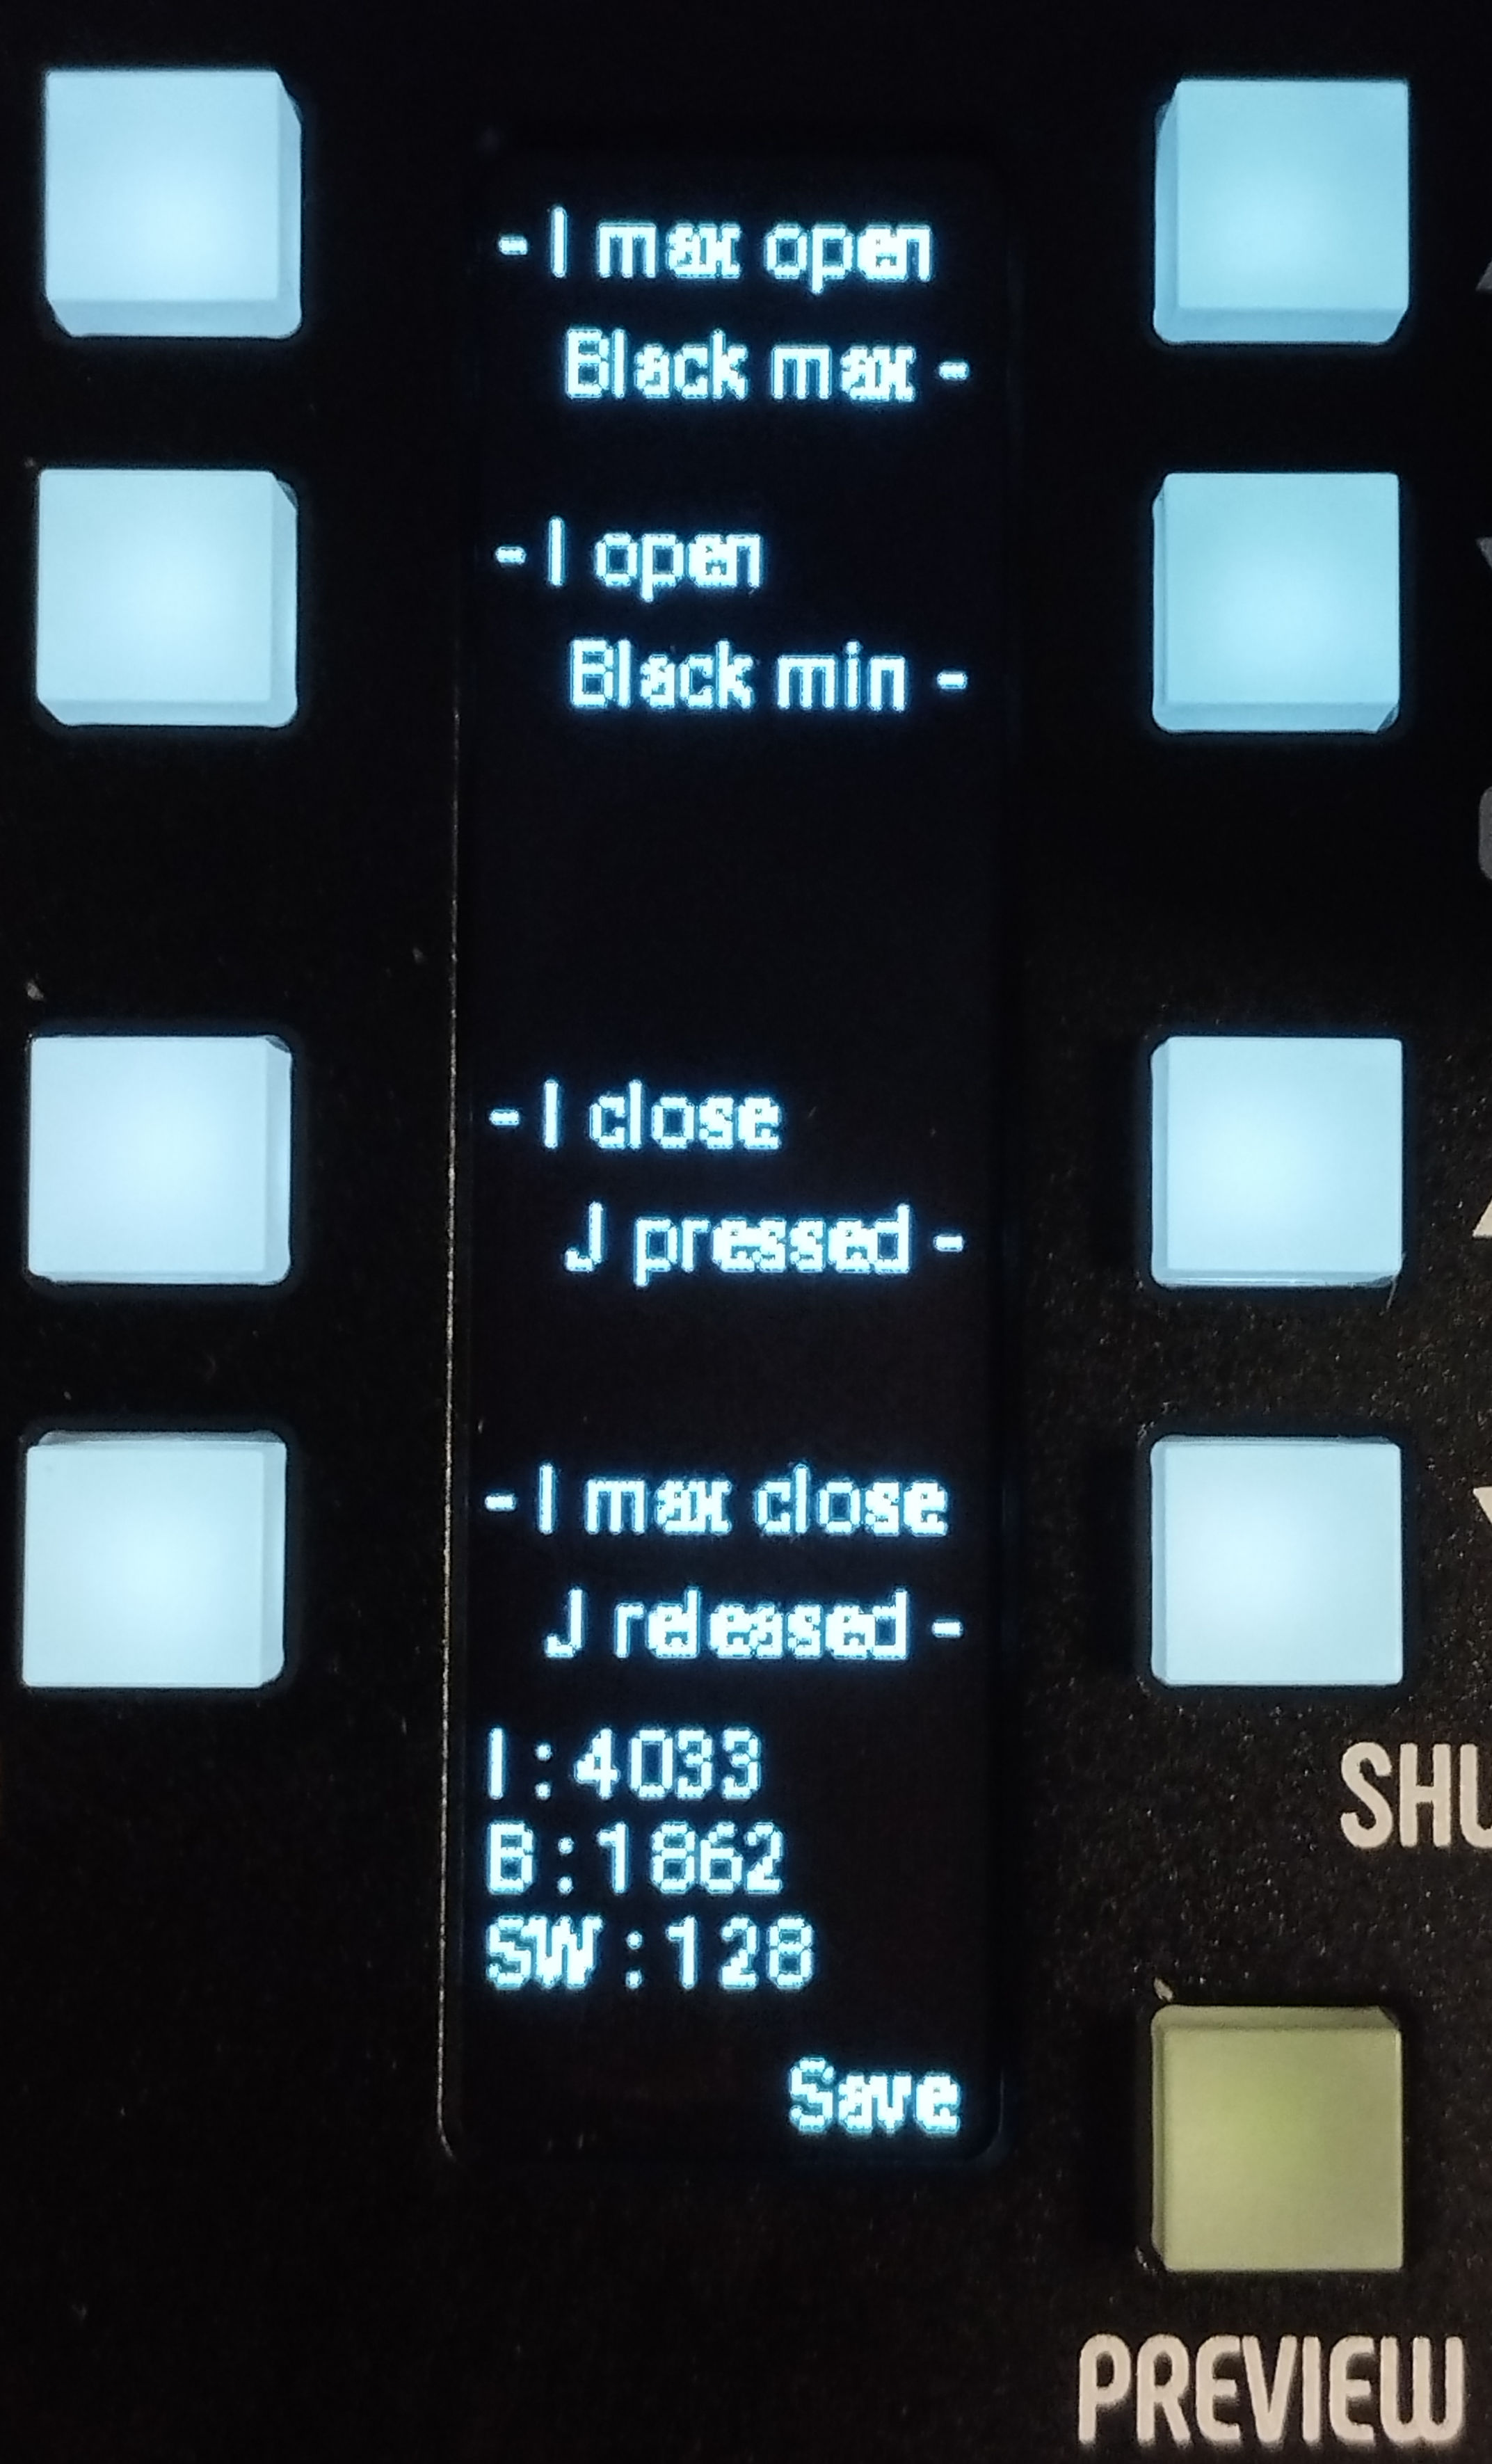
To perform a calibration:
- Place the joystick, the black ring, or the shaft in the position described in the table above, then confirm it with the button next to the label
- When the position is saved, the button is highlighted
- If in doubt or in the wrong position, you can press the button again. Only the last value is saved
The calibration screen displays the following technical information:
I : 4033- raw sensor value of the Iris JoystickB : 1862- raw sensor value of the black ringSW : 128- raw sensor value of the joystick shaft
These values must change when the joystick, the black ring, or the shaft is moved. If one of them stays static regardless of the mechanical position, it could indicate a hardware problem.
Once calibration is done, press "Save" (PREVIEW). The Iris Joystick reboots and loads the new calibration data.
The calibration is saved internally, so you don't need to calibrate each time the joystick boots. If the behavior seems wrong, you can recalibrate at any time to try to fix it.
Set the limits
Limits let you force the iris values into a range and increase the resolution of the shaft. They are set from the configuration screen. For details, see the "Configuration screen" section of Usage.