Integrating a 3D LUT Processor
https://support.cyanview.com/docs/Integrations/Generic/3DLUTProcessor
Overview
The RCP can control a 3D LUT processor and integrate with DaVinci Resolve, Premiere, etc. This enables a workflow like:
- Get some rushes from the cameras
- Grade in Resolve
- Export the LUT to the RCP
- Shade live from the RCP, combining camera + LUT
- Export the LUT from the RCP back to Resolve at the end of the show
Supported Devices
- Cyanview VP4
- Flanders BoxIO
- AJA ColorBox
- Blackmagic Teranex Mini
Wiring
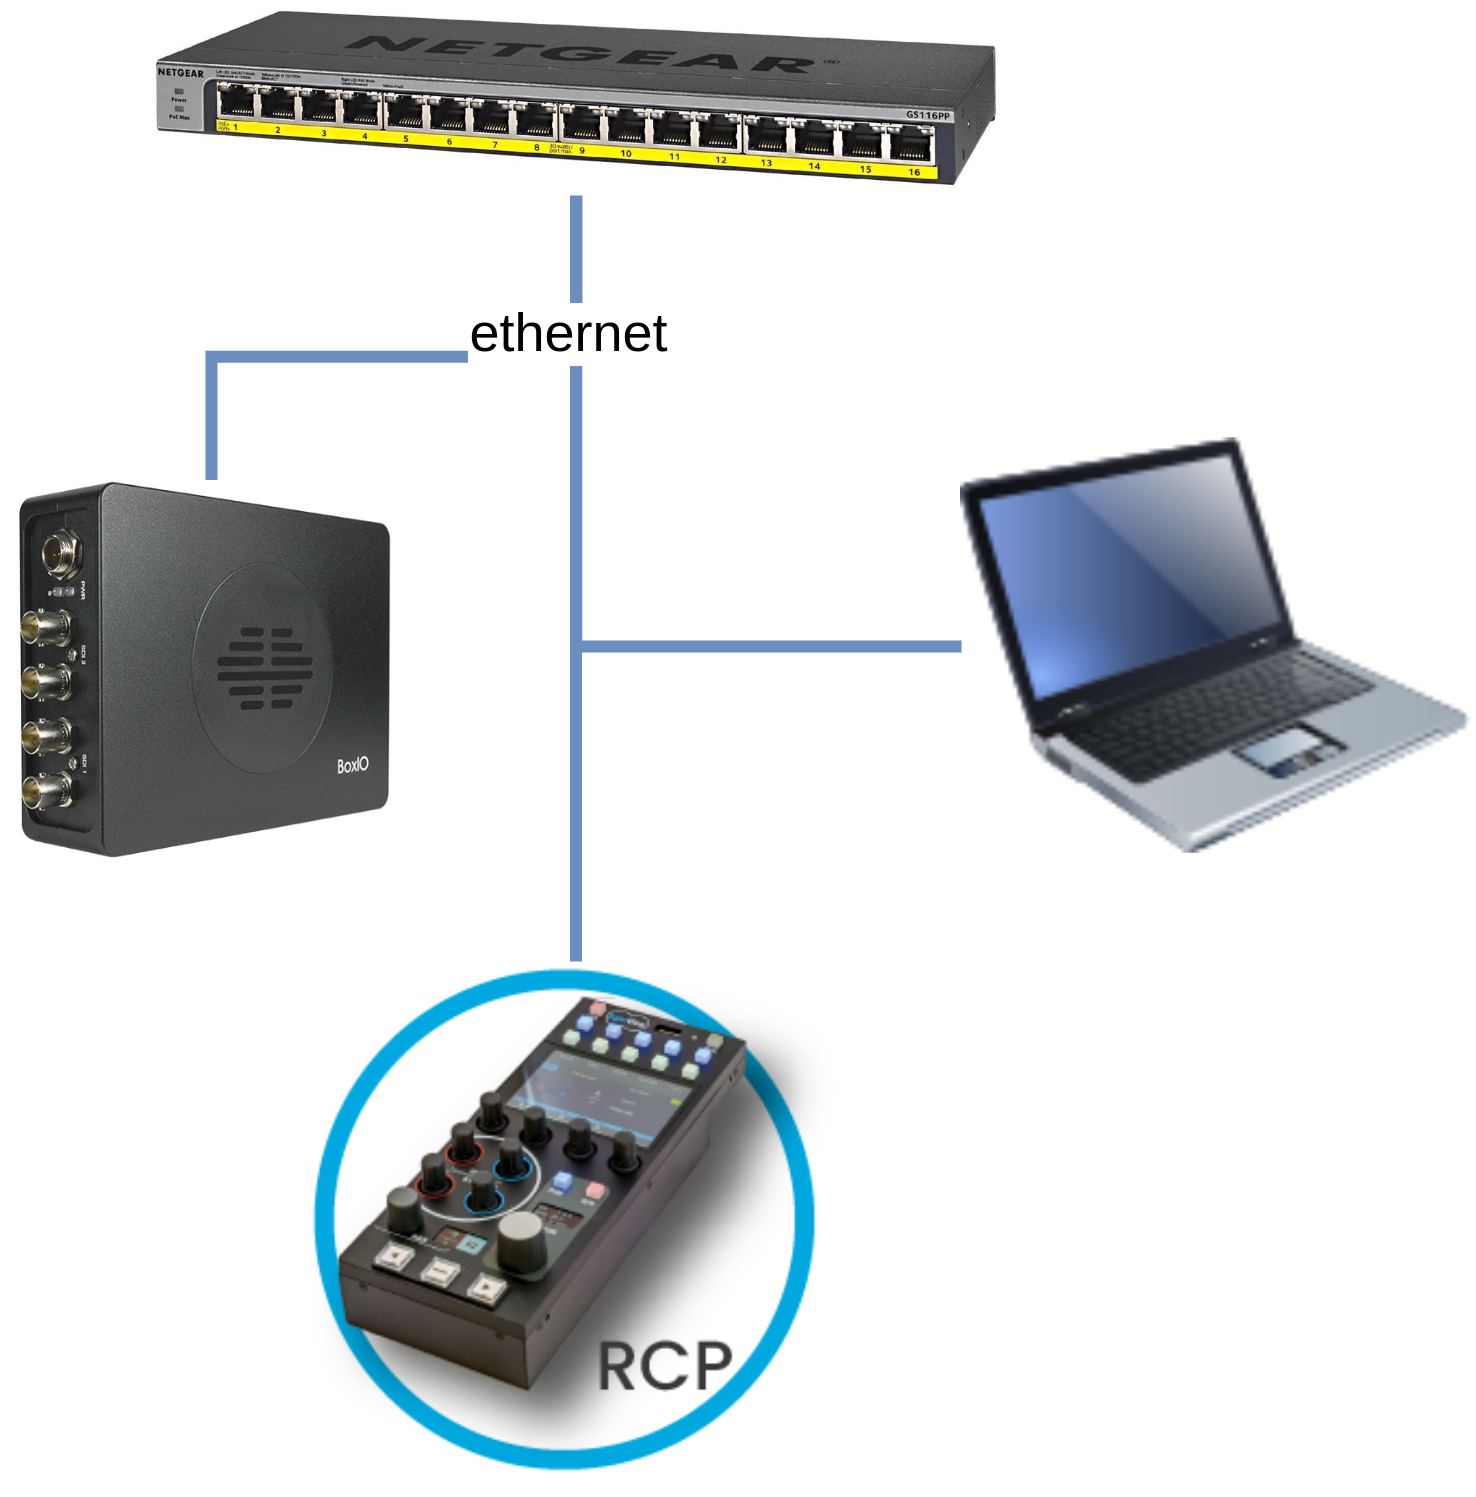
The laptop is optional and only required for setup and for importing/exporting LUTs.
Setup
The setup is similar to the Color Correction Controller integration.
-
Open your RCP Configuration UI.
-
In the Configuration tab, in the "Components" section, click "+".
-
Select "Video Processor".
-
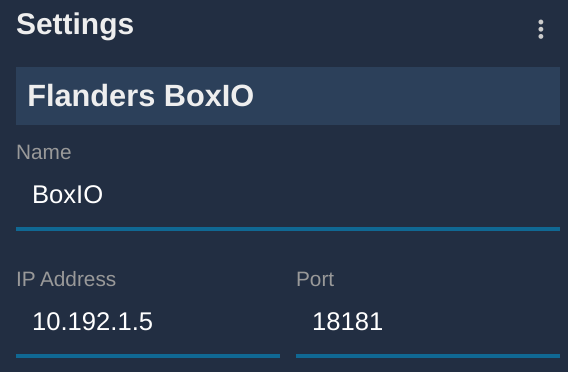
Select your device in the list and fill in the name and IP address:
- [1] Name (optional)
- [2] IP address of your device
-
If everything goes well, the block turns green.
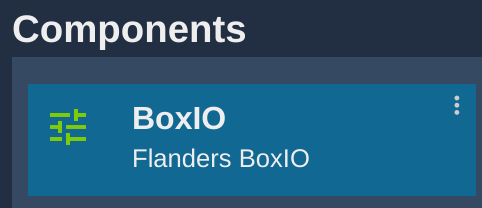
The VP4 is autodetected, so there is nothing to do.
You can now create a camera and, in its "Video Processor" section, select the processor you just created.
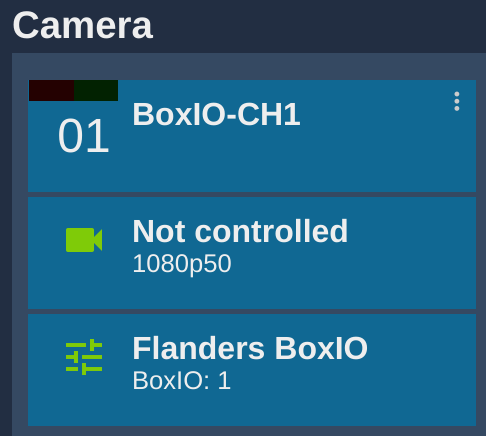
Here the camera is "Not controlled", so only the processor is controlled. You could also combine camera control (an FX9, etc.) with BoxIO control.
Usage
For RCP operation of a CC alone and of a combined camera + CC, see "RCP Operation" in Color Correction Controller. This section shows the integration with DaVinci Resolve, but the workflow is similar with any grading software.
3D LUT Import/Export in the RCP
In your grading/editing software, export the LUT in "33 Point Cube" format.
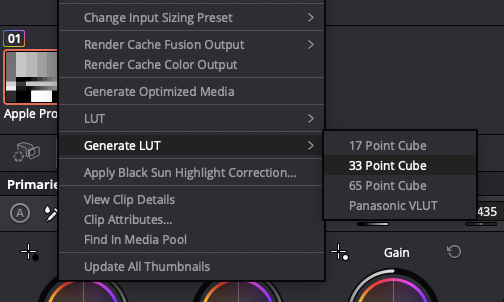
The steps below are for macOS.
-
Make sure your computer is wired and can reach the RCP (the example below uses a fixed IP).
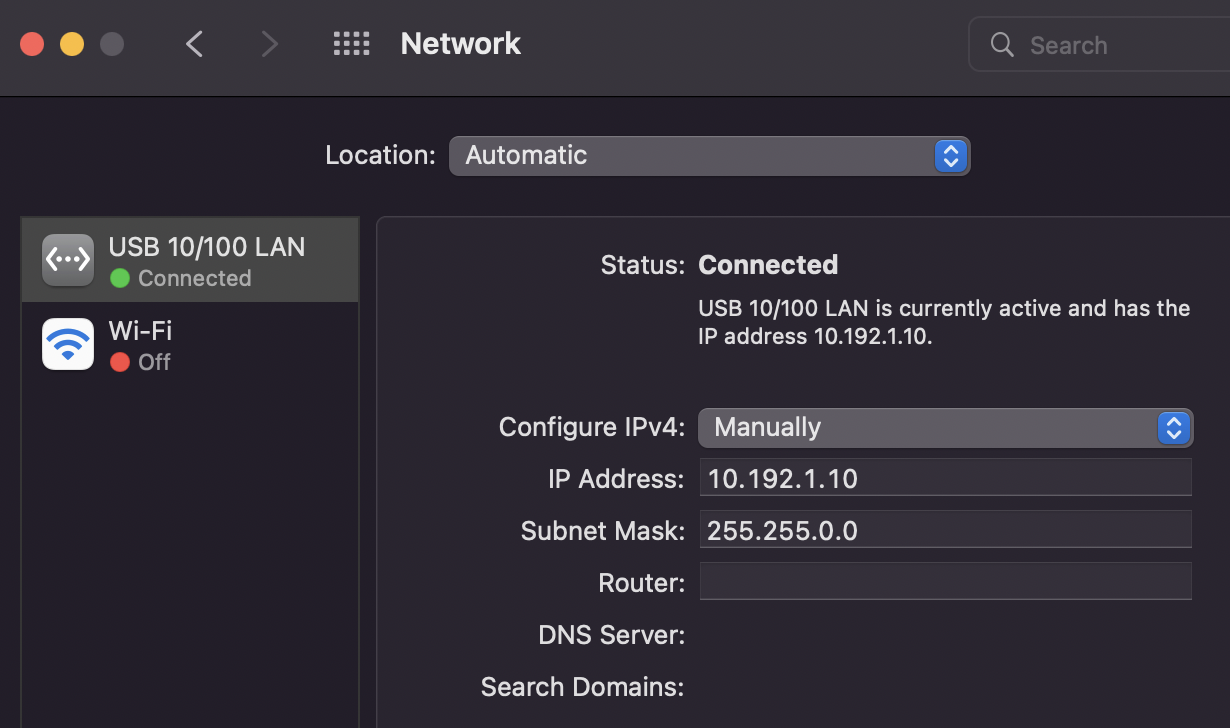
-
Open Finder. Under "Network", the Cyanview devices appear with their serial numbers.
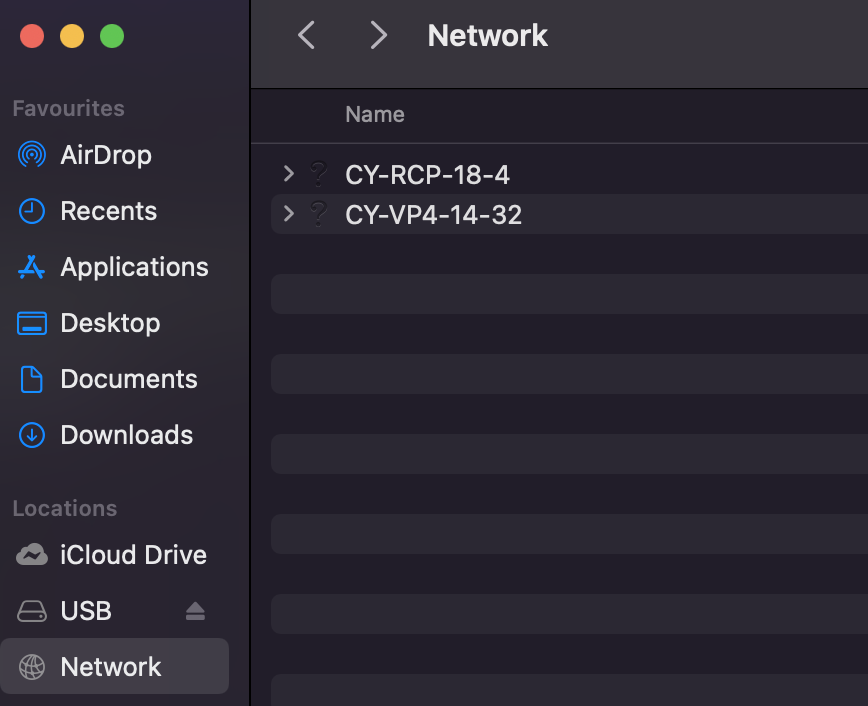
-
Click the RCP, then double-click "3DLUT" to mount this network directory on your computer.
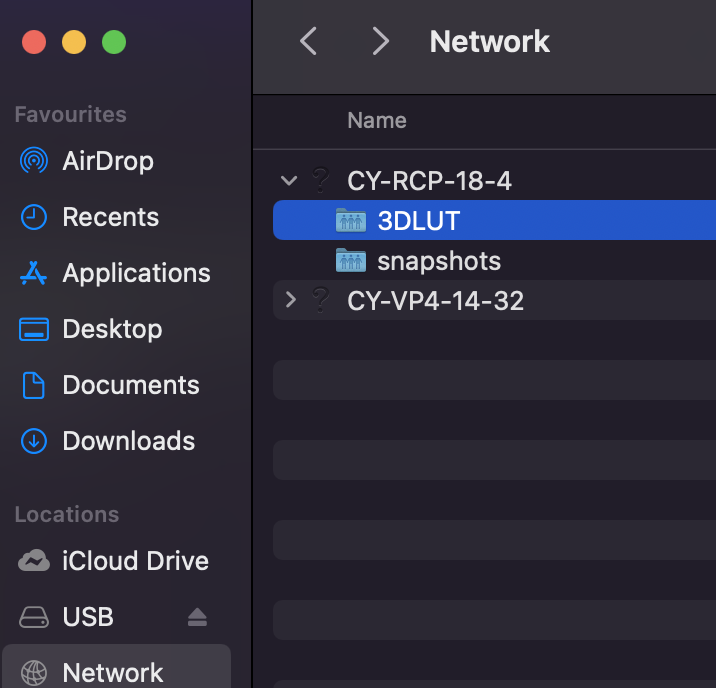
You should see the following. The
exportsdirectory will contain LUTs exported from the RCP.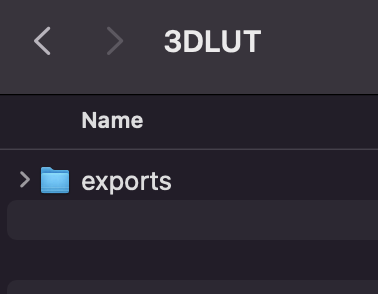
-
Copy the exported LUTs from your computer to this directory (the 3DLUT root). In the example below, two dummy LUTs,
unsaturatedandsaturated, have been copied.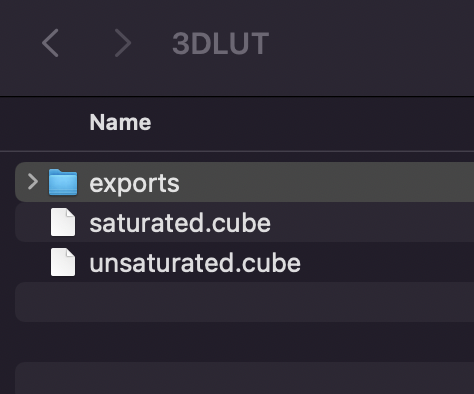
The workflow is similar:
- Make sure your PC has a compatible IP address (you should be able to browse the RCP Web UI)
- Open File Explorer at "This PC"
- Right-click and choose "Add a network location"
- Enter the network address
\\<IP of your RCP>\3DLUT(mind the backslashes), e.g.\\10.192.18.4\3DLUT
- Names can contain
-,_, or. - They must end with
.cube - They are case-sensitive:
saturated.cubeis different fromSATURATED.cube - No spaces are allowed:
LUT Blackmagic_1.3007_12311817_C012.cubeis not allowed
RCP Operation
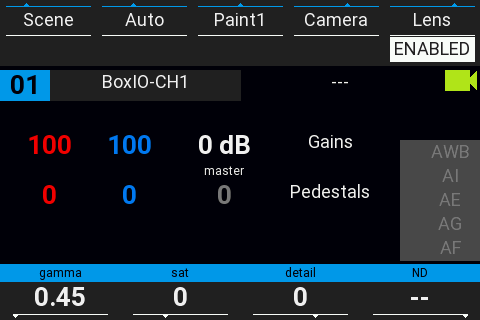
In this setup, the basic RCP screen looks like this:
-
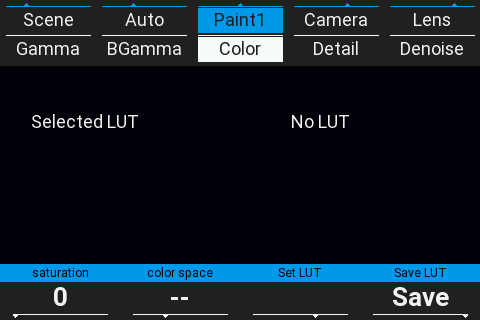
Navigate to "Paint 1 > Color".
-
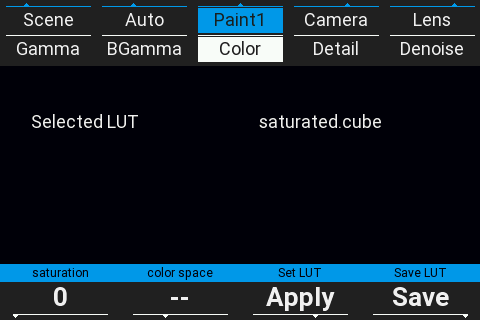
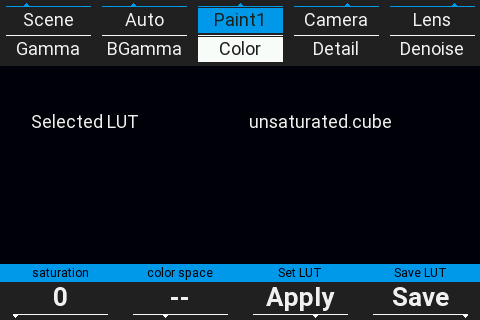
Turn the 3rd encoder below the screen to browse the LUTs copied from your computer.
-
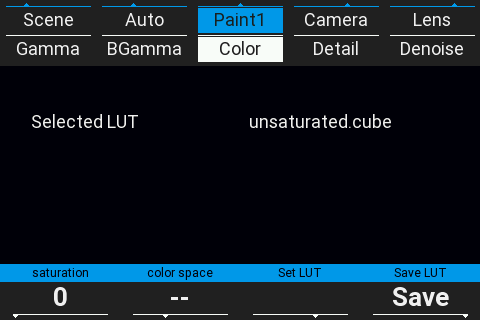
When the desired LUT is shown, press the 3rd encoder (Set LUT > Apply). The LUT is loaded into the processor channel set in the RCP configuration (BoxIO channel 1 in this example). Once loaded, "Apply" is no longer displayed.
-
From now on, when you shade with the RCP, it recalculates the LUT based on the loaded one.
-
At the end of the show, press the 4th encoder (Save LUT > Save). The live LUT (base LUT + live shading) is exported to the
exportsdirectory.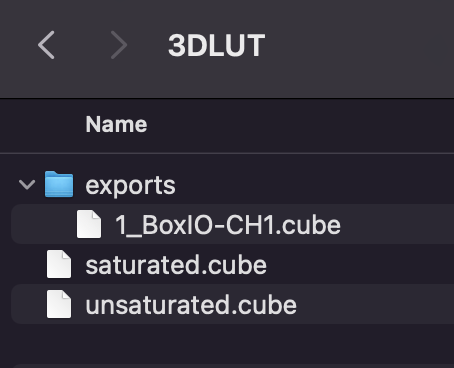
The exported file is named X_Y.cube, where X is the camera number and Y is the camera name. In this example, exports contains 1_BoxIO-CH1.cube, which can be imported back into Resolve over the network.
Downloads
Dummy 3D LUTs generated with DaVinci Resolve are available from the official site: