Integrating a Color Correction Controller
https://support.cyanview.com/docs/Integrations/Generic/ColorCorrector
Overview
Connecting the RCP to your color corrector (CC) lets you:
- Control each CC channel from the RCP instead of a web page
- Combine camera head control and color corrector control in a single camera
Supported Devices
- Blackmagic Teranex
- Lawo VPro8
- AJA FS series (FS 2, FS 4, FS HDR)
- AJA ColorBox and OG-ColorBox (openGear version)
- FOR-A FA-1010 and FA-1616 (FA-1616 requires firmware R3.30 or later)
- EVS Neuron and some Synapse cards
- Cobalt (a few of their cards are supported)
- Imagine SNP
- Flanders BoxIO
- VMix
- Riedel MicroN
Wiring
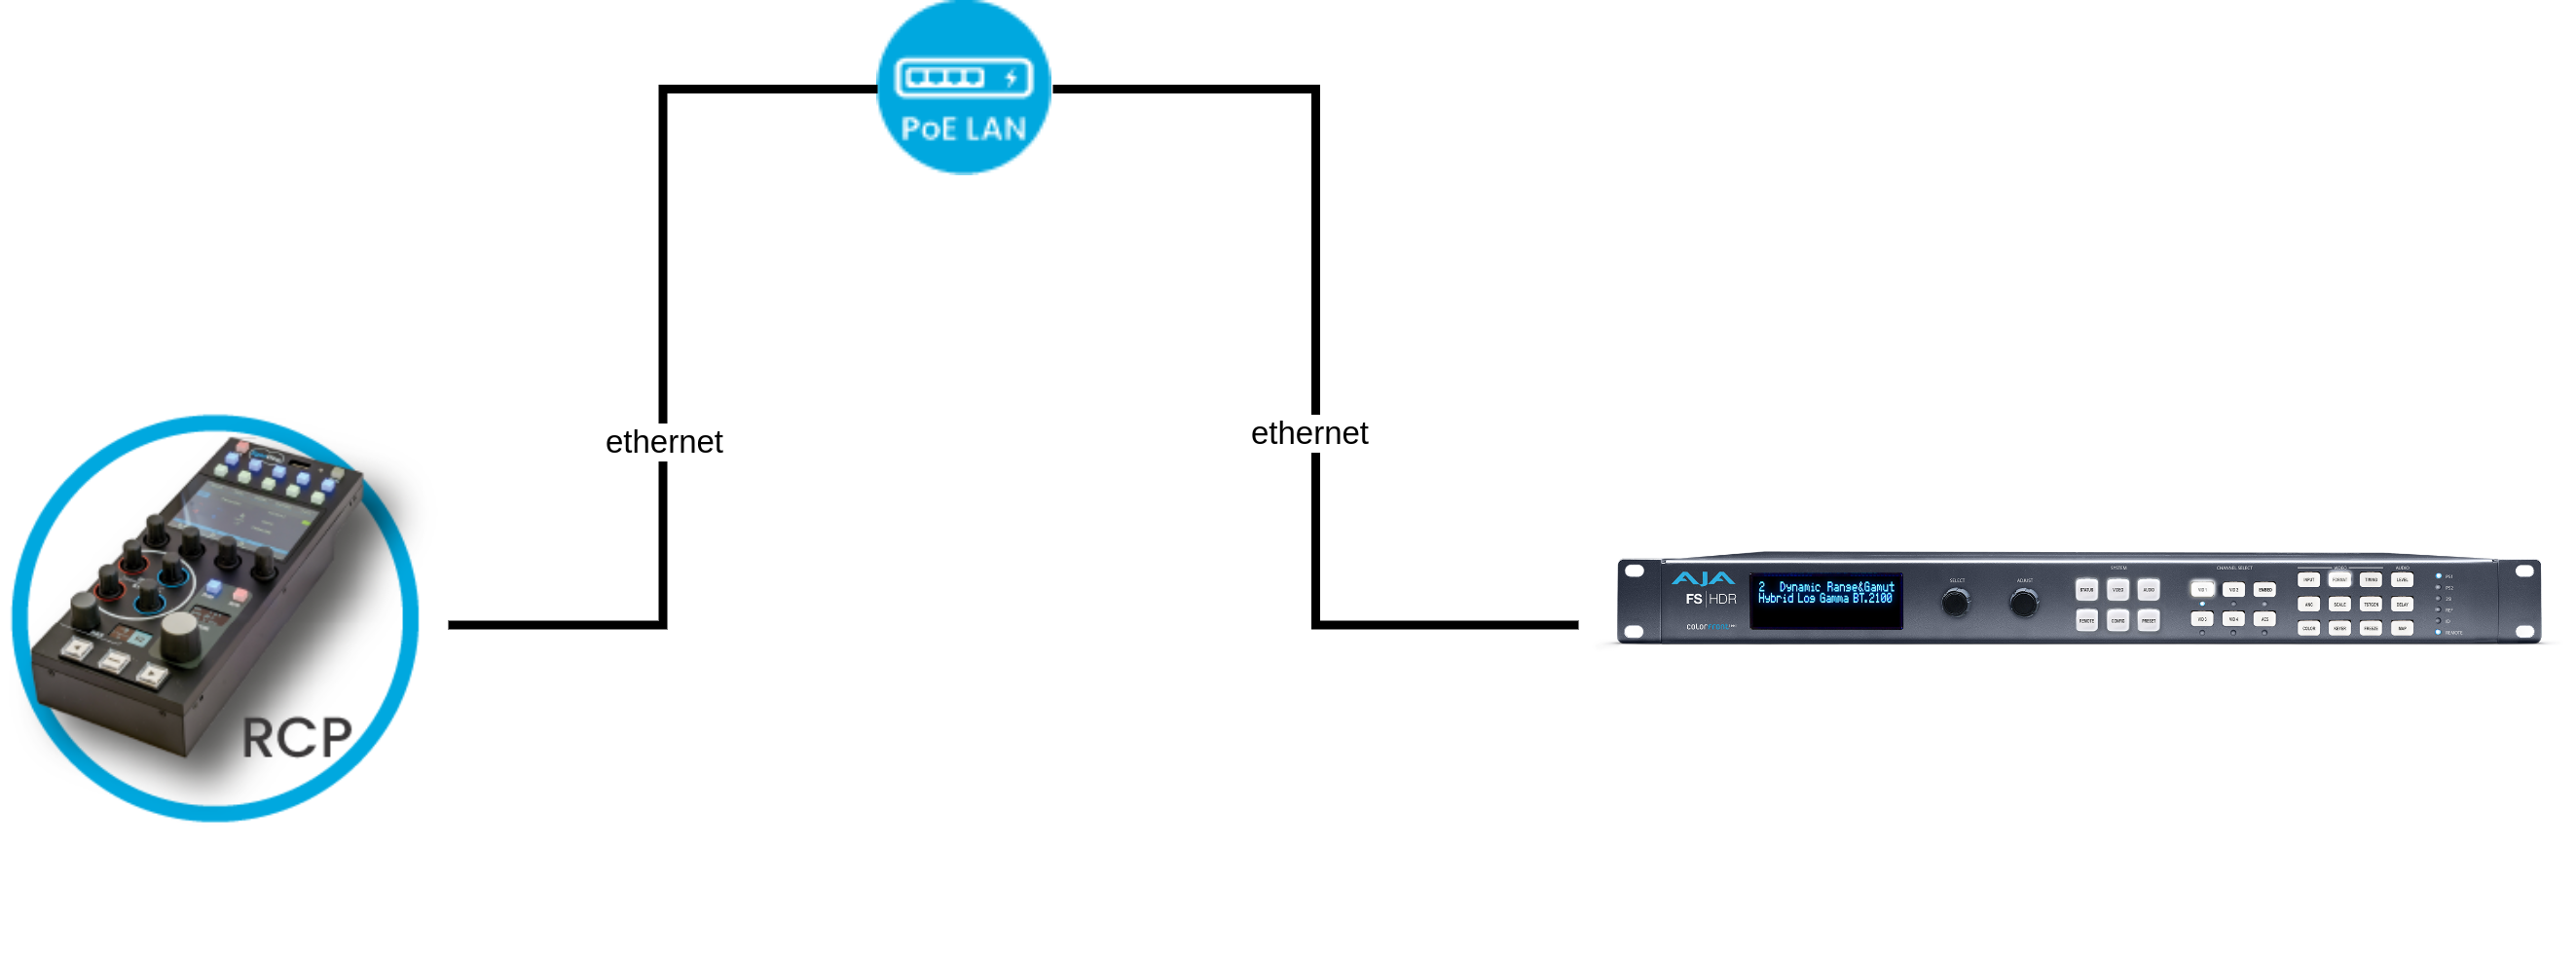
Connect your RCP to the same network as the color corrector.
Setup
-
Open your RCP Configuration UI.
-
If your color corrector is not in the default range
10.192.0.0/16, see IP Configuration to make sure your RCP can communicate with it. -
In the Configuration tab, in the "Components" section, click "+".
-
Select "Video Processor", then select your color corrector in the list.
-
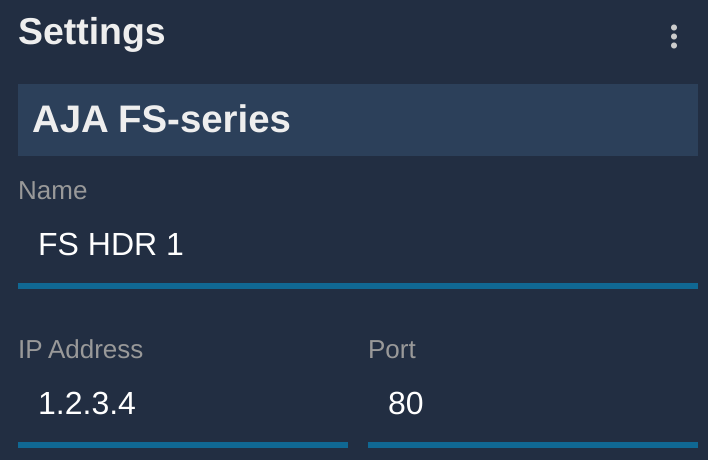
A new block appears. Click it and, on the right side:
- [1] Choose a name for your color corrector (optional)
- [2] Enter the IP address of your device
-
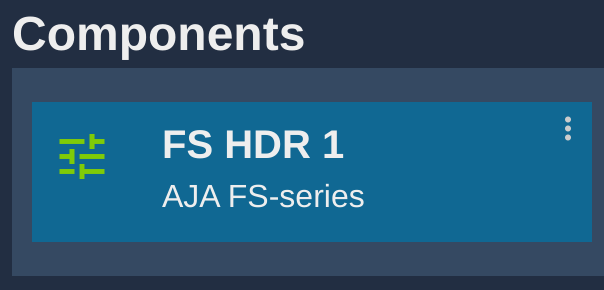
If everything goes well, the block turns green.
Color Corrector Channel Alone
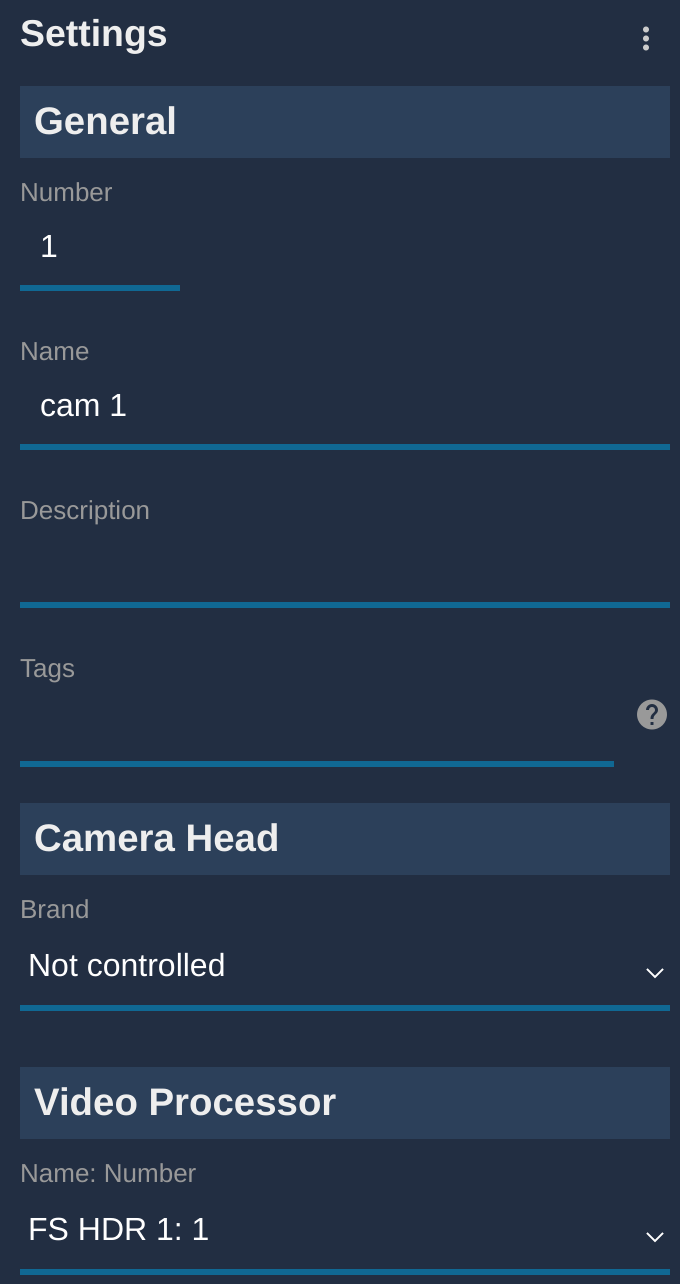
- Create a new camera with a number and a name.
- Select "Not controlled" for the Camera Head.
- Select your CC and channel in the "Video processor" section. The format is
NAME:CHANNEL_ID.
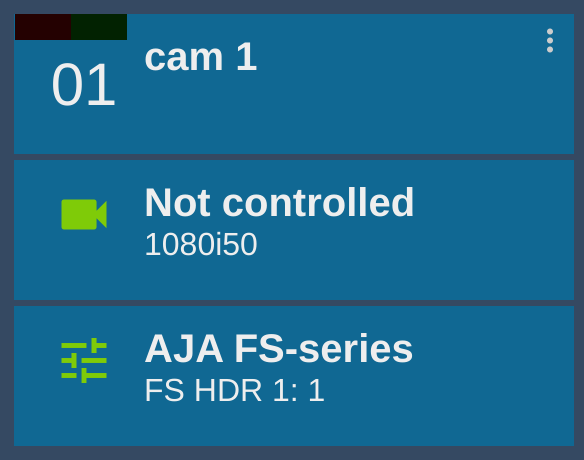
If everything is fine, the block turns green.
Color Corrector Combined with Camera Control
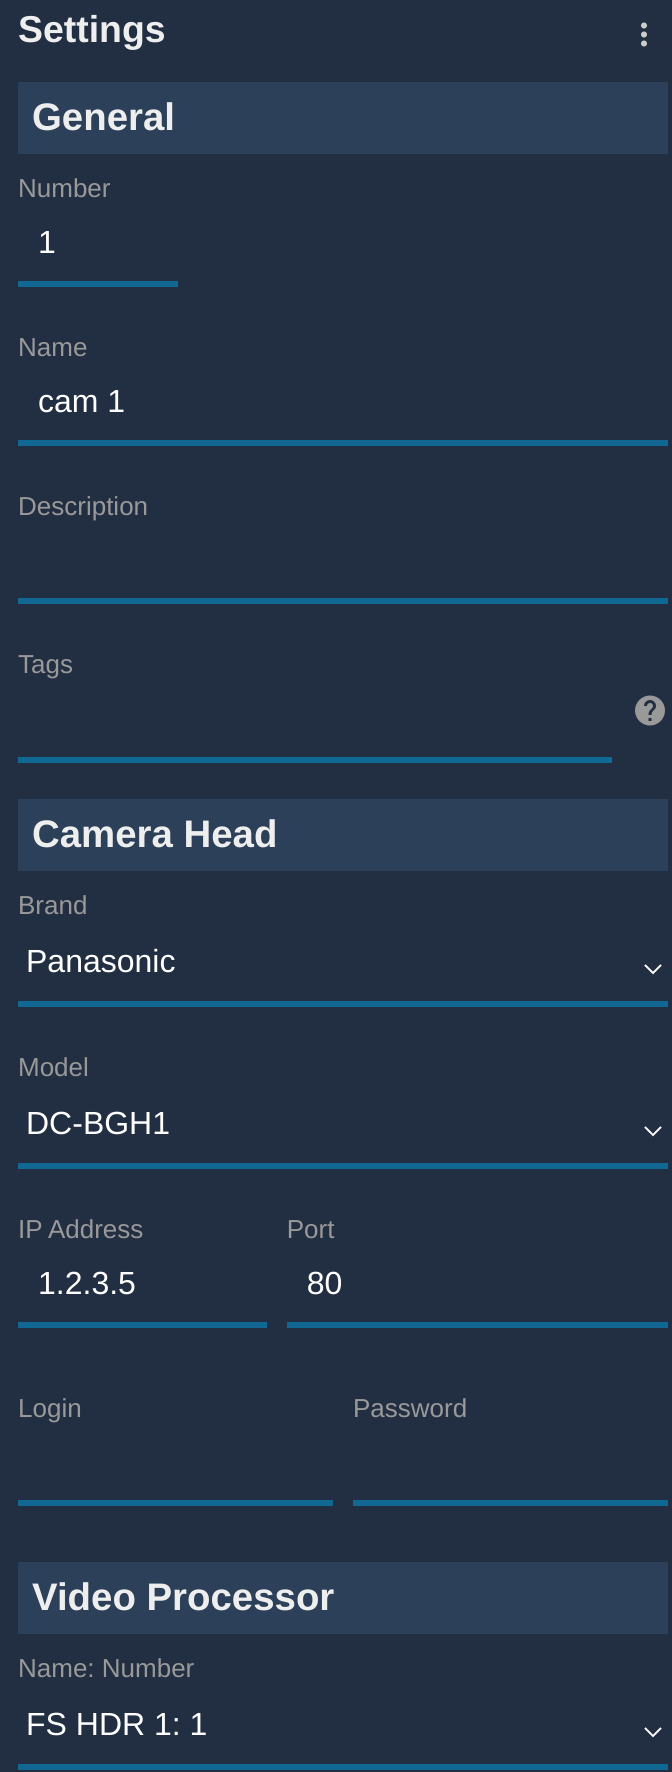
- Create a new camera with a number and a name.
- Select your camera brand and model in the list.
- Select your CC and channel in the "Video processor" section. The format is
NAME:CHANNEL_ID.
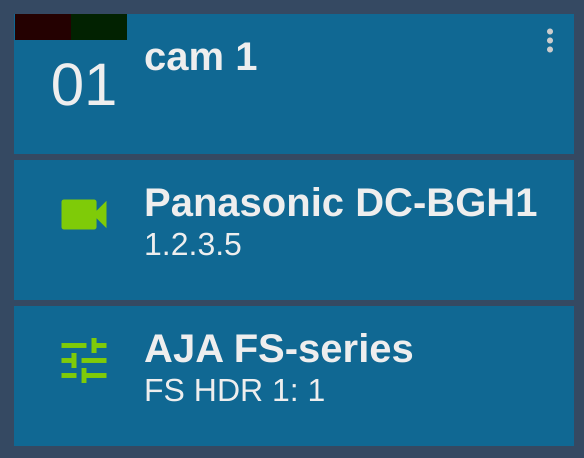
If everything is fine, the block turns green.
RCP Operation
By default, camera head control has priority over CC control. For example, on a camera that only has white controls:
- If you adjust the gain on the RCP, it is sent to the camera
- If you adjust the blacks, they are sent to the CC
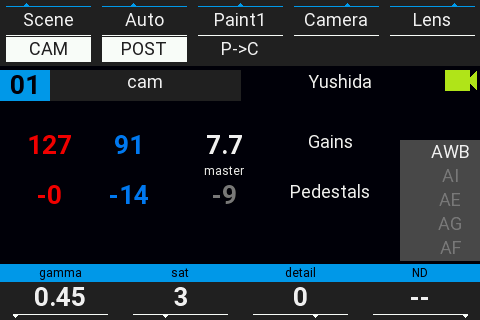
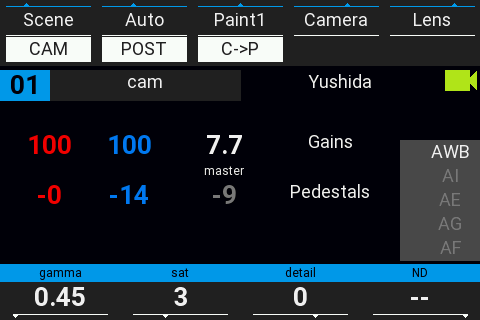
In this case, three new buttons appear on your RCP:
| Button | Function |
|---|---|
CAM | Toggle camera head control |
POST | Toggle CC control |
C->P / P->C | Change the camera/CC control priority |
P->C stands for Post (processing) over Camera control; C->P stands for Camera over Post (processing) control.
Camera and CC Combined (Default, Camera Priority)
Camera and CC are combined and the camera has priority (the CC only compensates for what the camera cannot do).
Camera Only
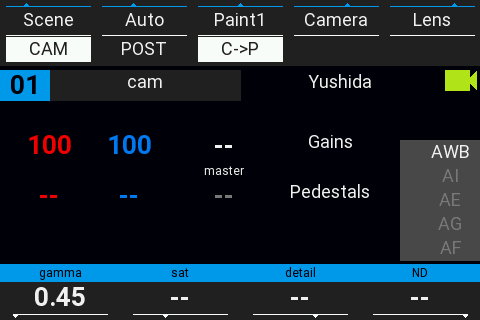
CC Only
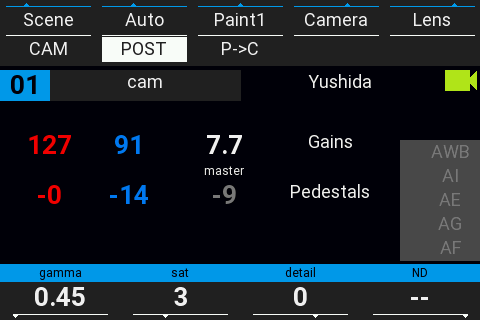
Camera and CC, CC Priority