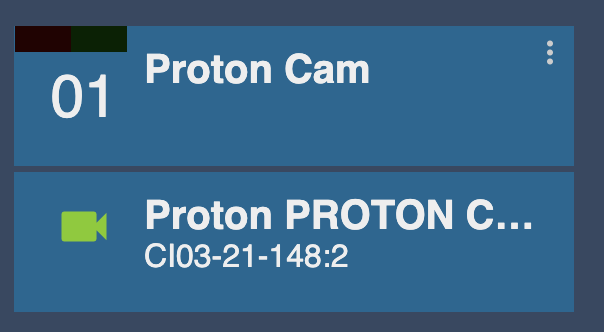
Proton Mini Cameras
Source
This content is based on Cyanview's official manuals. Always check the official page for the latest information and precise specifications.
https://support.cyanview.com/docs/Integrations/Proton/ProtonCam
https://support.cyanview.com/docs/Integrations/Proton/ProtonCam
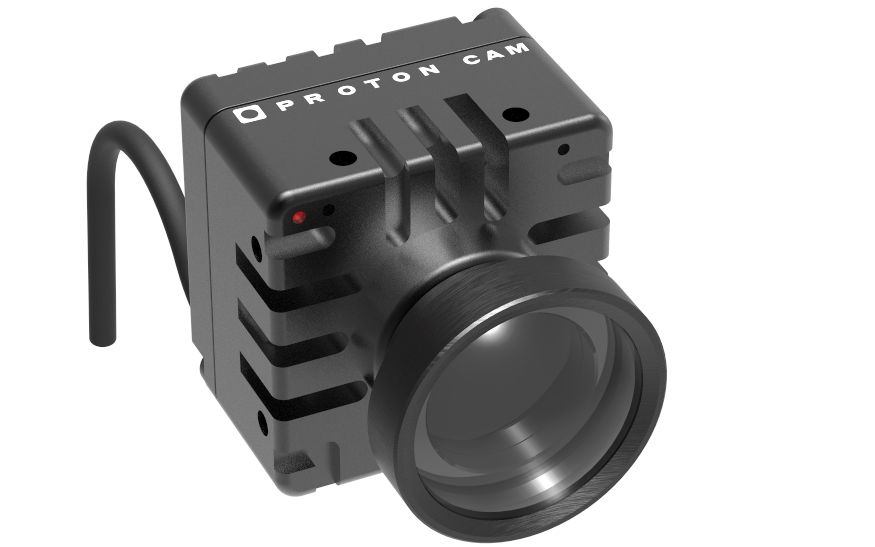
Supported Models
All Proton cameras are currently supported, including:
- PROTON CAM, RAIN, FLEX
- PROTON ZOOM
- PROTON 4K, 4K FLEX
- PROTON HFR
note
The PROTON PIO-E, a small PoE camera interface, is also supported. Like the Cyanview CI0, it allows the cameras to be controlled over Ethernet (IP), so the PIO-E can replace the CI0 in the diagram below. Note that the PIO-E is only compatible with Proton cameras.
Supported Controls
| Control | Notes |
|---|---|
| Exposure: iris, gain, shutter, CLS (Clearscan) | Iris on the ZOOM model only; gain can be set as ISO |
| Auto exposure: iris, gain, shutter | |
| White balance: color temperature and tint, RGB gains | RGB gains are applied on top of the color temperature, so start by selecting the correct color temperature |
| Auto white balance: AWB (single-shot), ATW (continuous) | |
| Master black and black balance (RB/master) | |
| Flare (RGB/master) | |
| Detail (level) | |
| Saturation and hue | |
| User matrix | |
| Multi-matrix | Selection of 12, 16, 24, or 32 vectors |
| Knee (point, slope) | |
| White clip | |
| Gamma (master) | |
| Denoise (level and color noise) | |
| OETF: SDR, HLG, PQ, S-Log3 | Extra options for PQ and HLG supported |
| Color space: BT.709, BT.2020, S-Gamut3, S-Gamut3.Cine | |
| Video formats: 1080i 50/59/60, 1080p and 2160p 23/24/25/29/30/50/59/60 | Formats can be changed from the RCP |
| Genlock (marked with an asterisk on the official site, without an explanatory note) | |
| Zoom/focus | On the ZOOM model |
| Flip (upside-down or mirror) | |
| Red tally | |
| Audio (mic levels) | |
| Fan (mode) | Available in the custom pages |
| Record using timecode | In the custom pages, enabling timecode is used to trigger external recorders |
| Status | Temperature and firmware version are reported |
Wiring

Gear required:
- 1 x CI0
- 1 x RCP
info
No specific cable is needed: the camera plugs directly into the CI0 serial port, and the CI0 provides data and power.
Setup
Set up a new camera in the RCP Configuration UI:
- Enter a custom number and name.
- Select the "Proton" brand.
- Select "Cam" as the model.
- Select your CI0 and port (e.g.
CI0-21-148:2for cy-ci0-21-148, port 2).
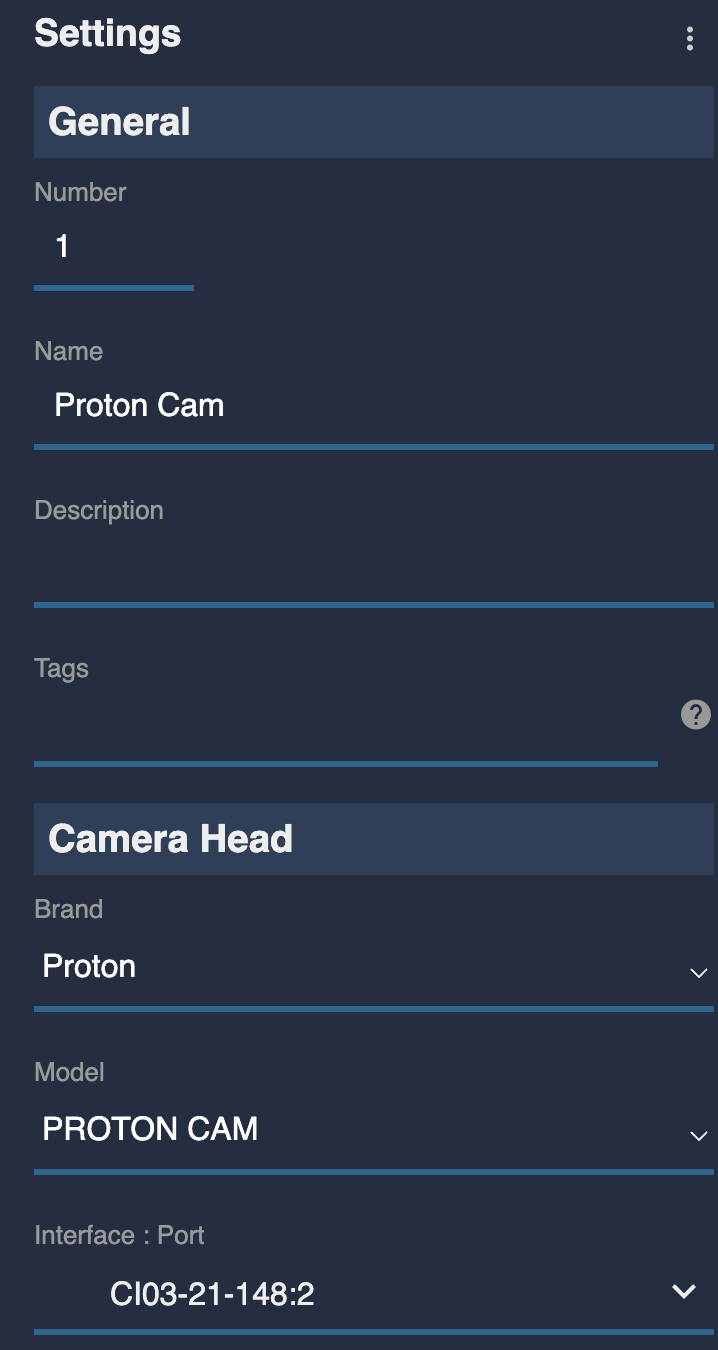
After a few seconds, if everything is properly connected, the block turns green.