RCP UI - Assignables (Assignable Buttons & Encoders)
https://support.cyanview.com/docs/Manuals/RCP/RCPUI/RCPUIAssignables
Overview
The RCP has 10+1 assignable buttons and 4 assignable encoders. You can customize:
- The LOCK/PWR button
- The 10 buttons across the top of the RCP main screen
- The 4 encoders below the RCP main screen
Settings path: MENU > SYSTEM > ASSIGN.
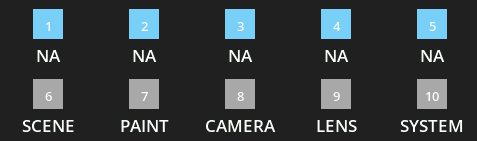
The first tab, Buttons, gives an overview of the current button assignments.
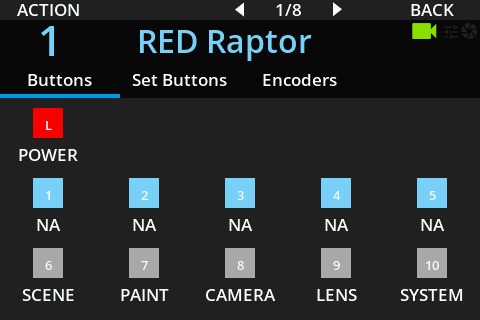
In this example (the default):
- The LOCK button is assigned to POWER
- The first row is not assigned (NA)
- The second row is assigned to SCENE, PAINT, CAMERA, LENS, SYSTEM
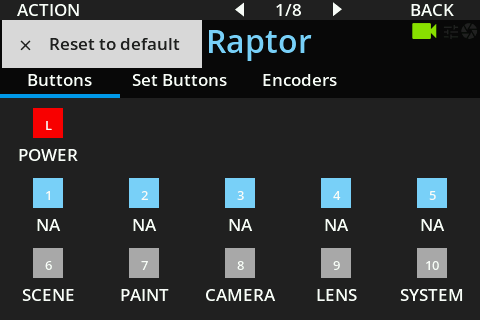
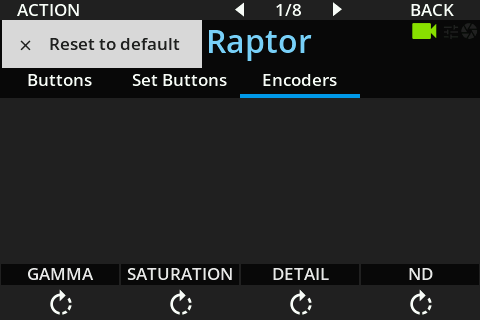
To get back to the default after making changes, press ACTION (the button at the top left of the screen) and click Reset to default.
LOCK Button
Settings path: MENU > SYSTEM > ASSIGN. → open Set Buttons and turn the first encoder (Button) to select LOCK.
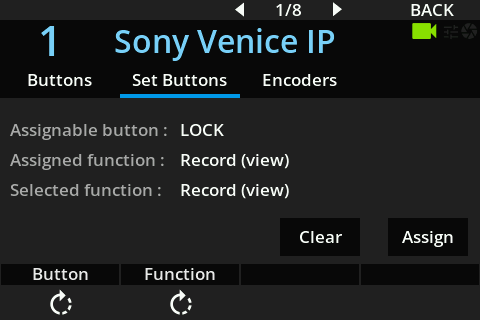
You can choose between two shortcuts for the LOCK button:
| Setting | Use |
|---|---|
| Power (view) | Typical use case in broadcast |
| Record (view) | Typical use case in cinema |
"view" means it is not a function, just a shortcut to a view. The list varies depending on the selected button.
If Record is selected:
- The LOCK button LED reflects the REC status of the camera displayed on the RCP
- Pressing it takes you to the record page (REC on/off, status, TC, etc.)
Assignable Buttons
Settings path: MENU > SYSTEM > ASSIGN. → open Set Buttons and turn the first encoder (Button) to select one of the 10 buttons.
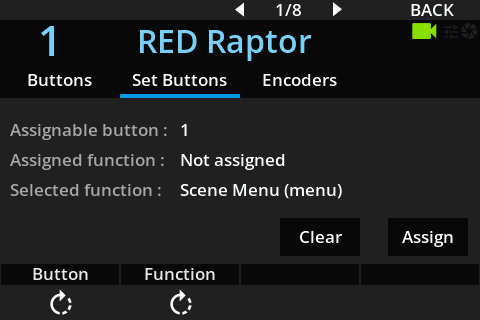
Once you have chosen a button and a shortcut, click:
- Assign: to link the button and the shortcut
- Clear: to remove the shortcut
Buttons 1-10 can be set to any view, menu, or function:
- view: takes you to a view (e.g. REC takes you to the record page)
- menu: takes you to a submenu (e.g. Paint Menu takes you to the paint submenu)
- function: executes/triggers a function or action
List of assignable items:
Not assigned (NA) / Scene Menu (menu) / Scene Files (view) / Scene Config (view) / Paint Menu (menu) / Filters (view) / White (view) / Black (view) / Detail (view) / Skin Detail (view) / Matrix (view) / Gain (view) / Gamma (view) / Knee (view) / Shutter (view) / Color (view) / Look (view) / Denoise (view) / Camera Menu (menu) / Auto (view) / Menu (view) / User Keys (view) / Power (view) / Sensor (view) / Tally (view) / Test (view) / Lens Menu (menu) / Lens (view) / PTZF (view) / Preview (view) / Record (view) / System Menu (menu) / Assignable (view) / Display (view) / GPIO (view) / Info (view) / Units (view) / Power (view) / Priority (view) / Settings (view)
Functions for combining a camera with a post processor (a color correction device such as the VP4):
| Item | Behavior |
|---|---|
| Toggle Cam / Post Priority | Toggles priority between cam > post and post > cam |
| Toggle Camera usage | Toggles the camera (keeps only the post) |
| Toggle Post processor usage | Toggles the post (keeps only the camera) |
| Toggle Enable post processor | Toggles the post (the post goes into passthrough mode) |
Assignable Encoders
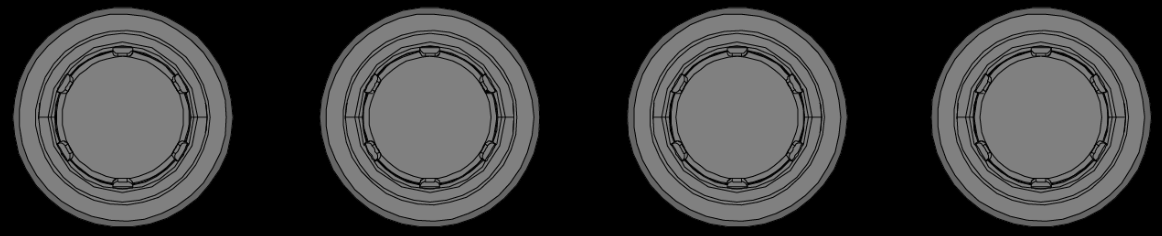
You can customize the 4 encoders below the RCP main screen.
Settings path: MENU > SYSTEM > ASSIGN. → open Set Encoders and turn each encoder to the desired function.
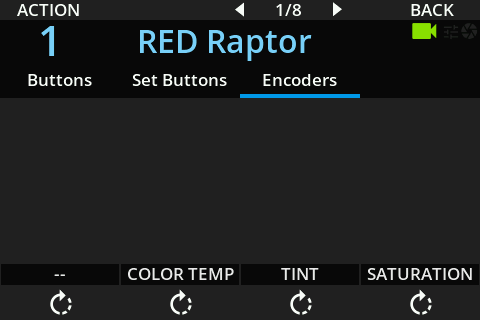
Each encoder can be assigned to:
--(nothing/NA)- M. GAMMA
- GAMMA
- ND (presets and variable)
- SATURATION
- COLOR TEMP
- DETAIL
- TINT
Just turning the encoder changes the assignment, which is saved automatically. To reset, press the top-left button on the screen (ACTION) and click Reset to default.
Example Setup: RED Raptor
Settings path: MENU > SYSTEM > ASSIGN.
- Button 1: toggle cam/post priority (Toggle Cam / Post Priority). Useful when combining a RED Raptor with an AJA ColorBox, VP4, etc.
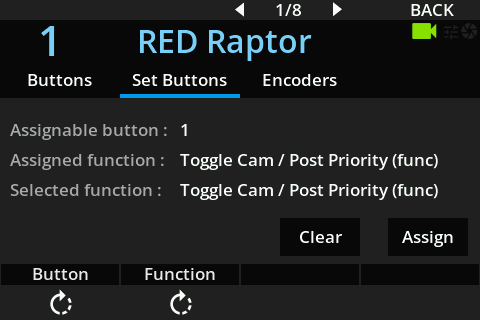
- LOCK button: set to Record (useful for every cinema camera)
- Encoders: set to SATURATION, COLOR TEMP, and TINT
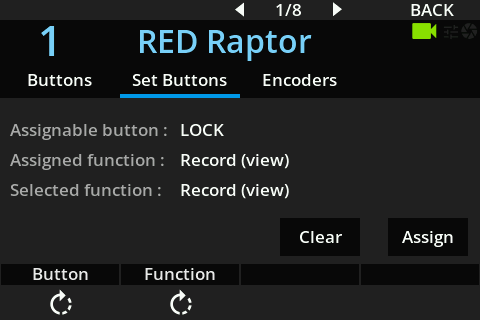
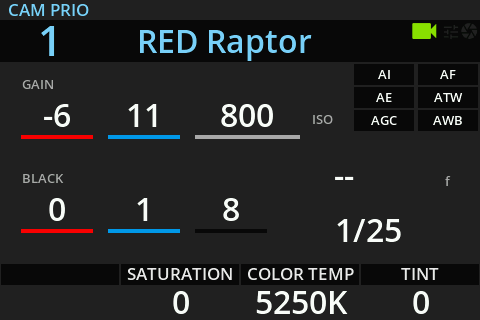
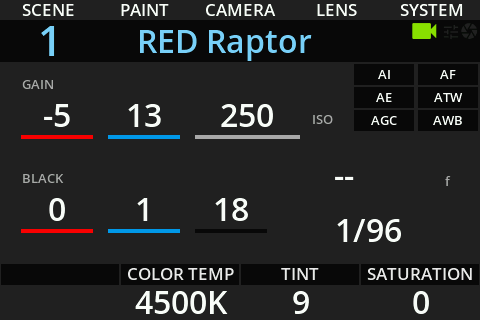
The resulting main view. The white (second row) assignable buttons are shown at the top of the screen.
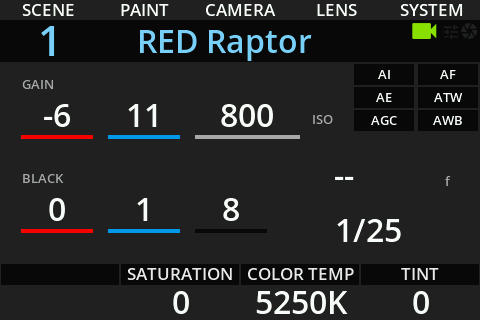
Tap the top of the screen to see the blue (first row) assignable buttons.