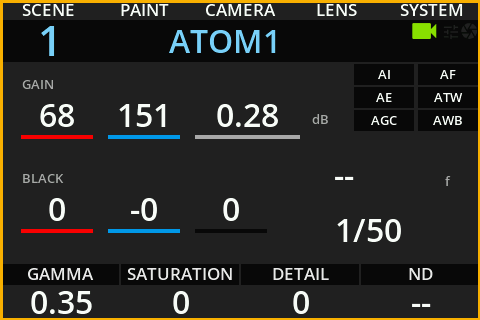
RCP UI - Camera Groups
Source
This content is based on Cyanview's official manuals. Always check the official page for the latest information and precise specifications.
https://support.cyanview.com/docs/Configuration/advanced/CameraGroups
https://support.cyanview.com/docs/Configuration/advanced/CameraGroups
Concept
Camera groups let you control multiple cameras at once. This is useful whenever you want to apply the same operation to several cameras together — for example, recalling PTZ position presets or adjusting the same white balance across multiple cameras.
Configuring Groups
Groups are configured in the Configuration Web UI.
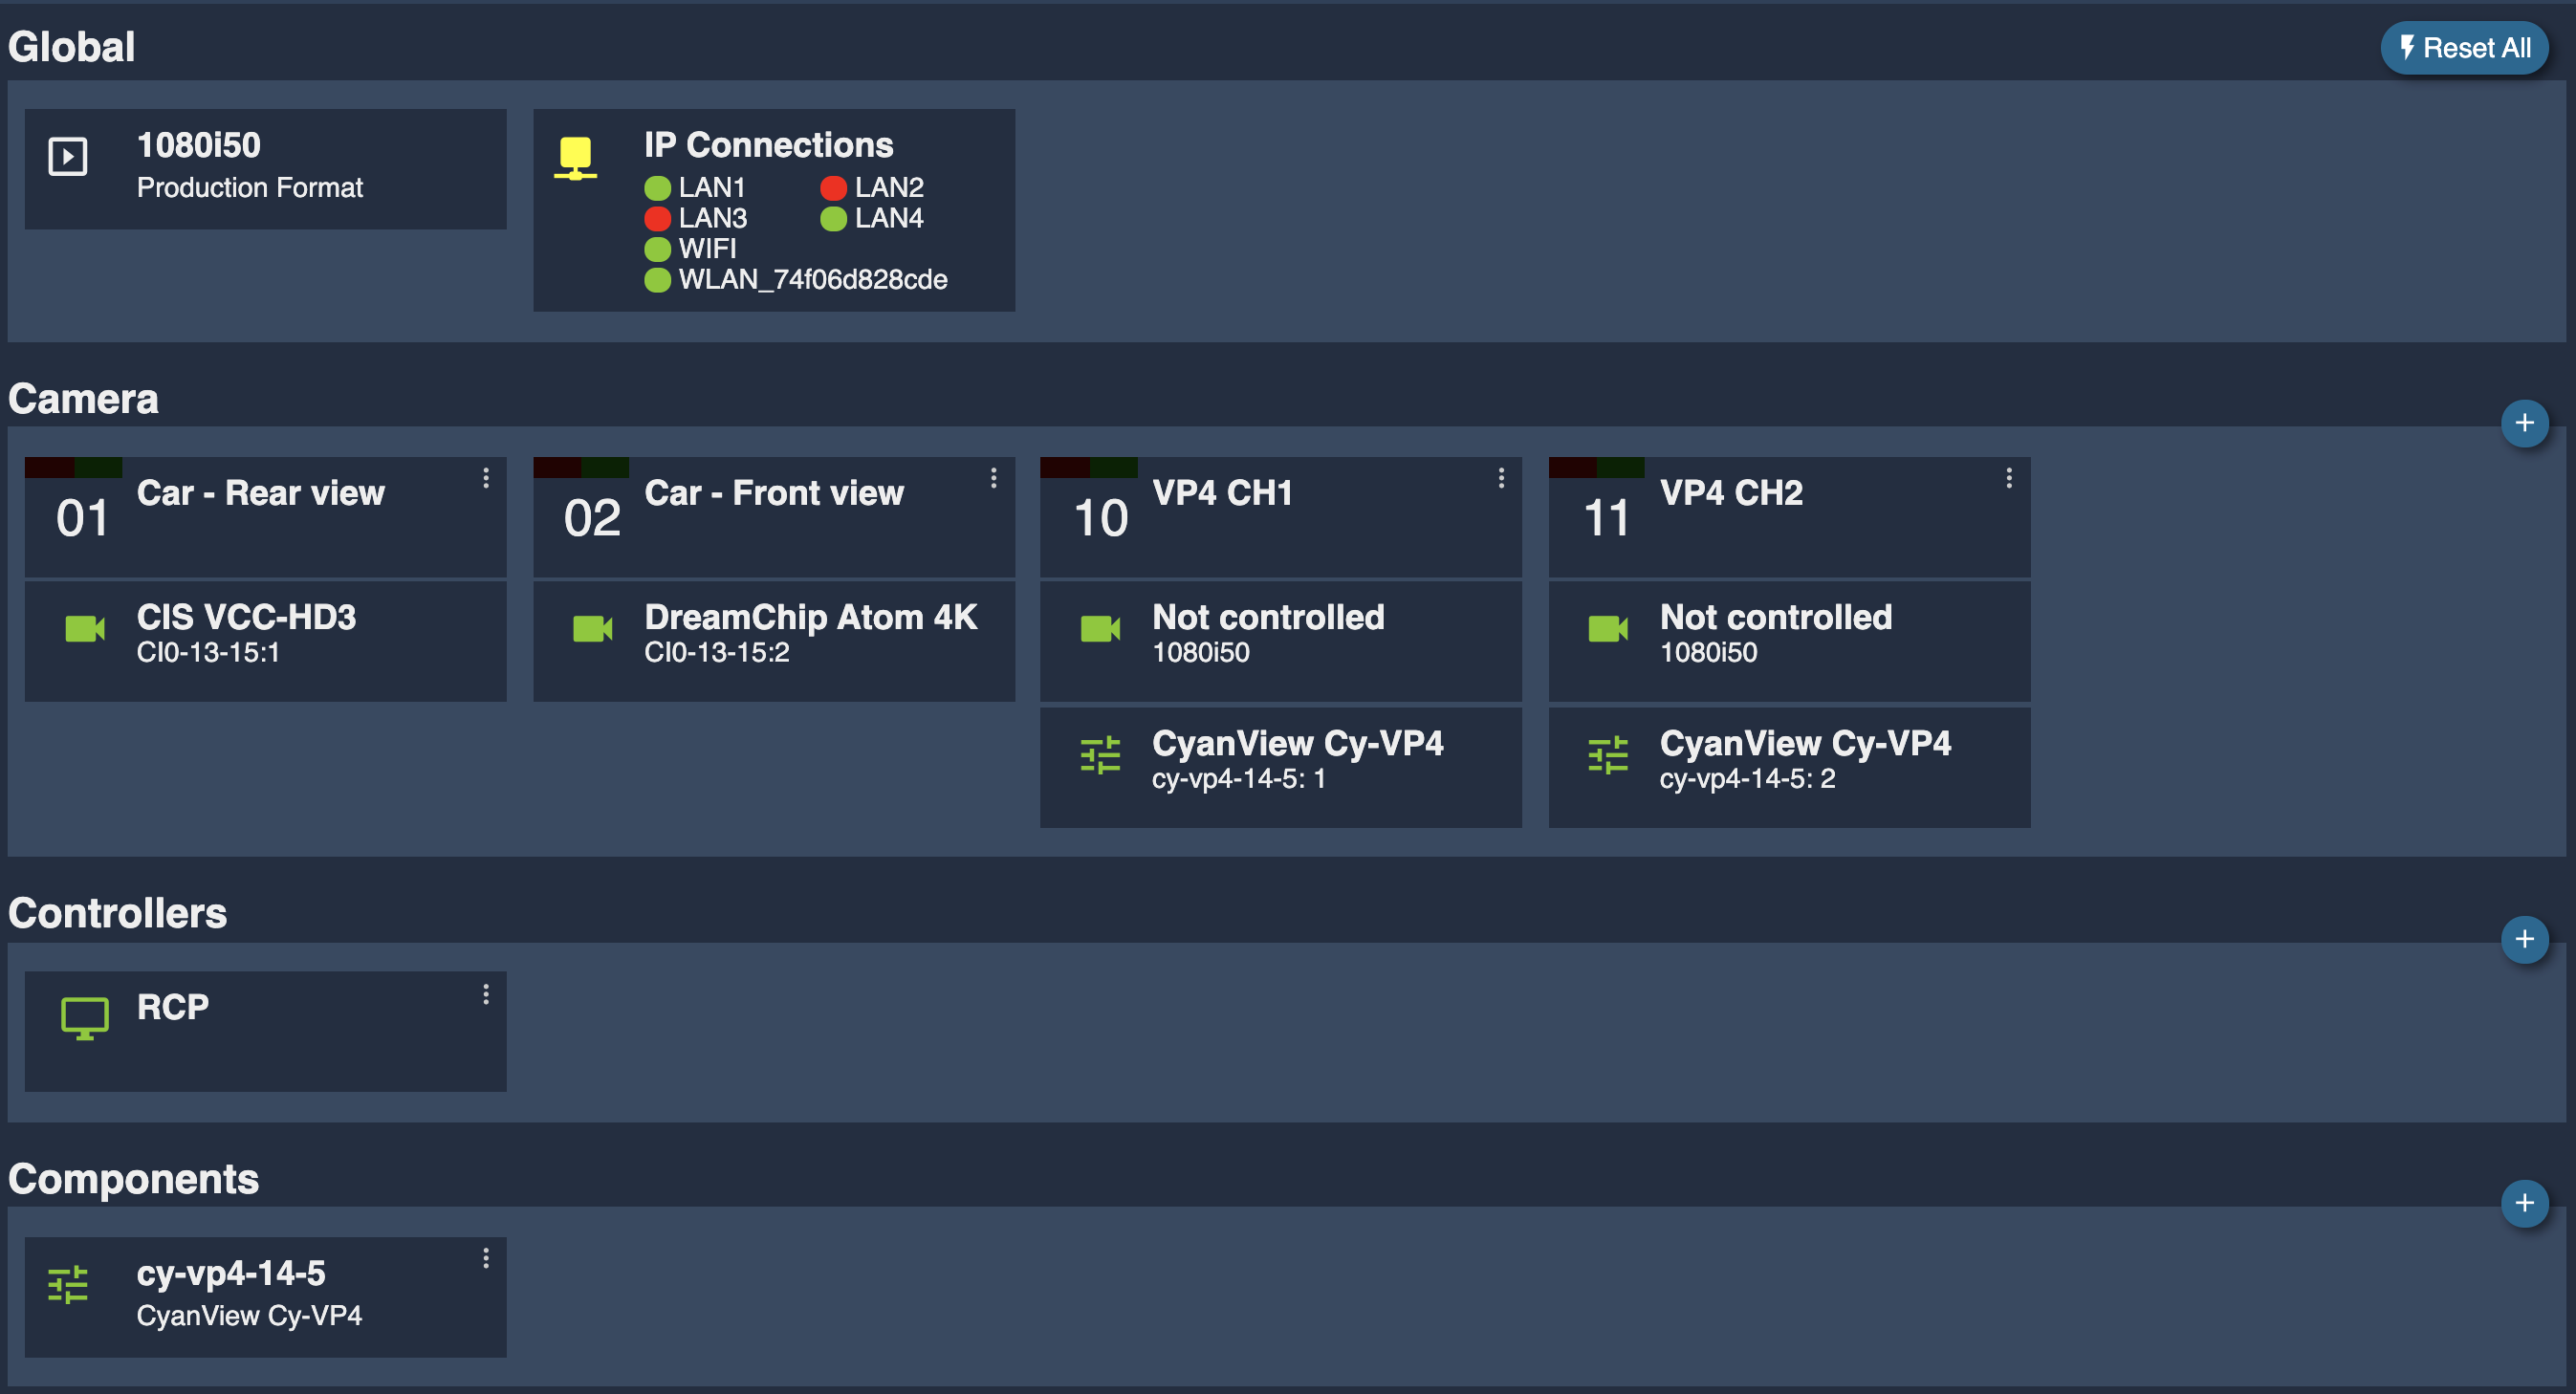
- First create your full camera configuration (e.g. two cameras in a stadium, one at each goal, plus two VP4 channels).
- Click a camera and enter the group information in the
Tagsfield. - Define group names in the form
group:groupname; separate multiple groups with a,. - Group names are case-sensitive and may only contain alphanumeric characters, underscores, and hyphens.
- A single camera can belong to up to 8 groups.

Using Groups on the RCP
- Each RCP has a default group named "All". Even when no groups are configured, it is available from the RCP and lets you control every camera in the configuration.
- Accessing the groups menu: Press and hold the Preview button → select the "Groups" tab.
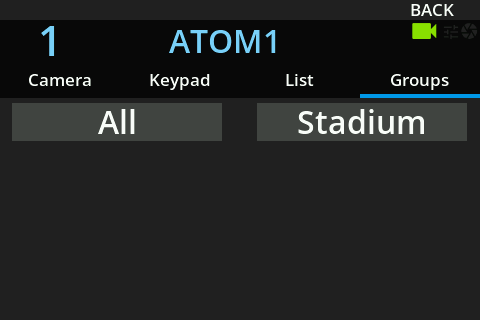
- Selecting a group: Select it using the on-screen buttons. The selected group is highlighted in orange, and an orange line is displayed around the screen.
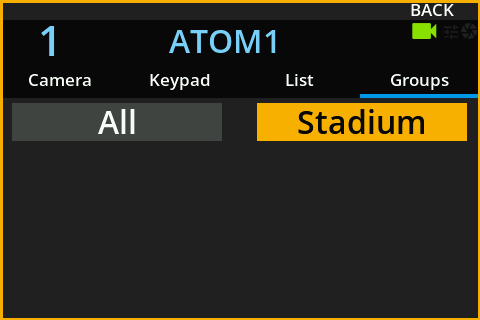
- Closing the groups menu: Release the Preview button. While a group is selected, the orange line around the screen remains.
- Clearing a group selection: Reopen the groups menu and press the currently selected group again, or change camera.