RCP UI - General Operation
https://support.cyanview.com/docs/Manuals/RCP/RCPUI/RCPGeneral
The RCP's UI is designed to be intuitive and easy to understand, but a few notes are needed for some of the more complex features.
Navigation
- MENU button: Located in the upper right of the device
- Blue and white buttons across the top of the screen: Shortcuts to specific menu sections. You can customize these shortcuts to suit your workflow (see Assignables)
Navigation within menus is done directly on the touchscreen.
Switching Views
- Tap the sensitive areas at the left and right edges of the touchscreen.
- Or press the two white navigation buttons with the left/right arrows above the screen.
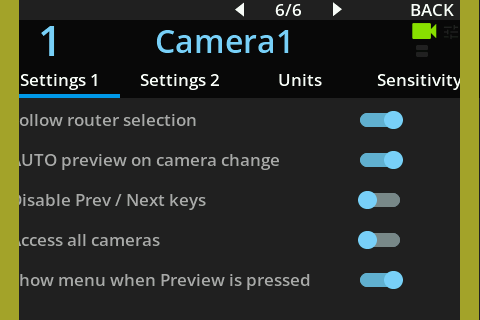
Main Screen
Assignable Buttons
The functions assigned to the white buttons are displayed at the top of the screen. Functions are assigned to the buttons under MENU > SYSTEM > ASSIGN. (see Assignables).
The default display mode for the assignable buttons can be set permanently under SETTINGS > RCP Settings (see Settings).
You can also change the display temporarily:
- Tapping directly on a button's label area temporarily switches the display to show the "blue button" functions (it automatically reverts to the white button display after 2 seconds).
- Tapping again within 2 seconds displays both the white and blue button functions at the same time.
Displaying and Controlling the Green Channel
By default, only the red and blue channel controls are shown.
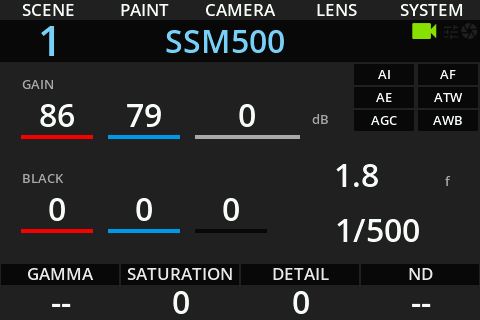
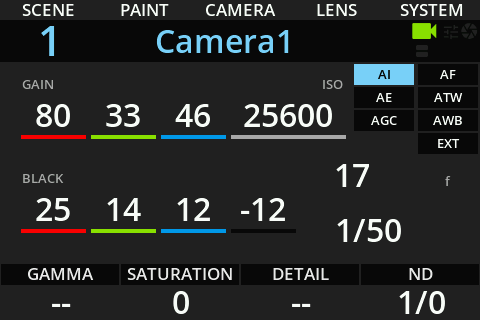
- Displaying the green channel can be enabled under
SETTINGS > RCP Settings(see Settings). Once enabled, green gain and black levels appear alongside red and blue on the main screen. - Press and hold the red or blue encoder while turning it to temporarily adjust the green channel.
- For more precise or visual adjustments, use the
Paint > White/Paint > Blackmenus, which are ideal for fine-tuning all three channels at once.
Encoder Colors and Dual Functions
When an encoder's label is displayed in blue, that encoder has a secondary function. Pressing the encoder directly switches to the secondary function.
Example: Gain / Fine Gain
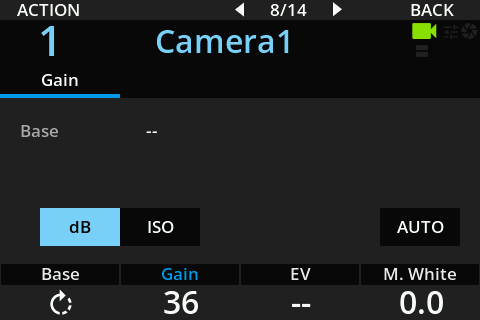
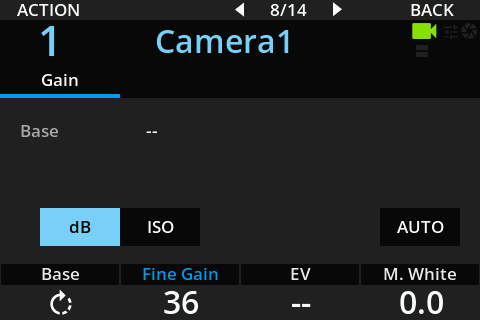
- Blue "Gain" label: turning it adjusts the gain
- Pressing it switches to "Fine Gain" mode, allowing more precise control
AUTO Button
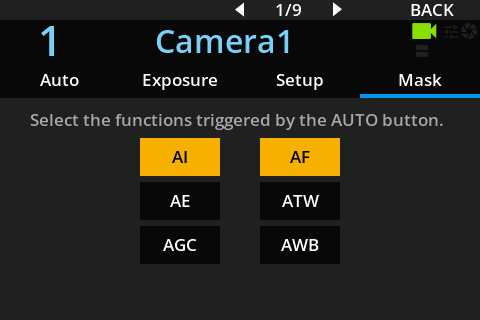
Activates the camera's automatic functions (AI/AE/AGC/AF/ATW/AWB, etc.).
- When an automatic function is active, its label lights up yellow and the AUTO button itself lights up red.
- It can be customized under the
Camera Menu > AUTO > Masktab. - Press and hold the AUTO button for a few seconds to open the AUTO menu.
ACTION
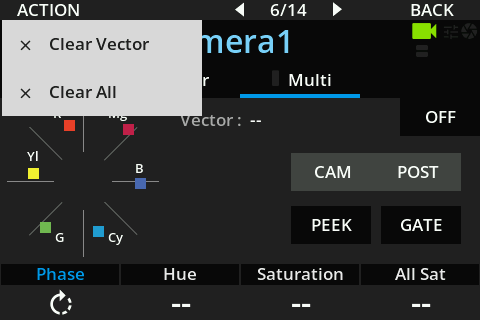
When an "ACTION" label appears in the upper-left corner of the screen, that page has action functions available.
- Press the leftmost white button below the "ACTION" label to display the available actions.
- Select directly by tapping on the touchscreen.
- Press the same button again to close the menu.
Mixed Display of Camera and Color Correction Controller
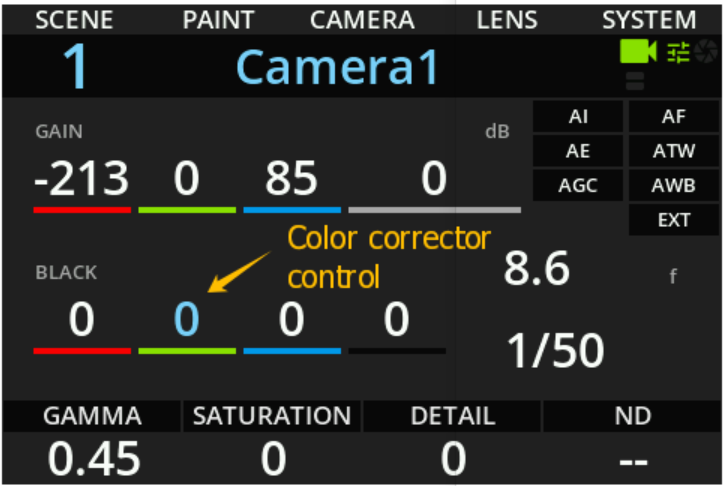
When using a color correction controller (such as VP4) alongside a camera, control values are color-coded.
- White: Controlled by the camera
- Cyan: Controlled by the color correction controller
Control priority is set under MENU > PROC/VP4 > PRIO.
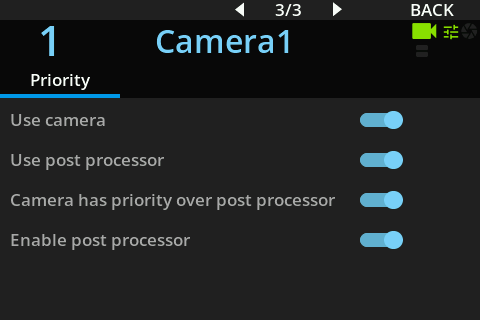
| Setting | Description |
|---|---|
| Use camera | Enables control from the camera |
| Use post processor | Enables control from the post processor (color correction controller) |
| Camera has priority over post processor | Camera takes priority; only falls back to the color correction controller for items the camera can't control |
| Enable post processor | Disables the color correction controller entirely. On supported devices such as the VP4, the output simply copies the input signal with all processing disabled |